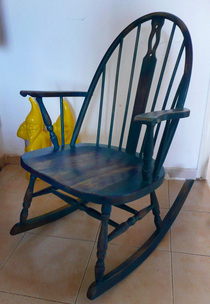
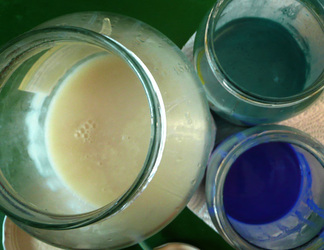
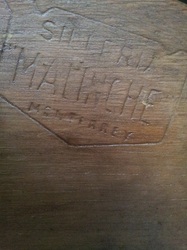
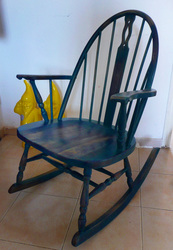
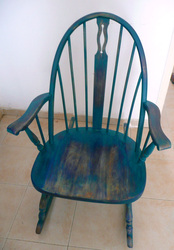
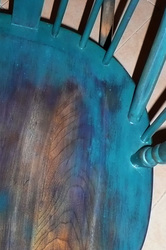
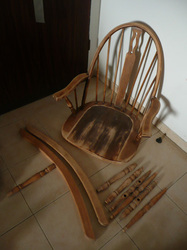
 Caroline: A friend found this rocking chair in pieces in a dumpster and told me "Do what ever you want" so of course I wanted to try something different. On many blogs and pages from the US about up-cycling furniture they write about milk paint. Milk paint is probably the oldest painting technique in the world. It has been used in cave paintings and apparently the ancient Egyptians used it in their tombs. Now it is used mostly on furniture to create an antique look or as some call it - "shabby chic". Now I do not really like "shabby chic" painting, I mean I do like an old piece of furniture with old paint peeling off it, but I want it real, a real old piece of furniture with a story and five layers of paint that have been put on by different owners over the years. The stuff one can buy today, that has been painted and then sand papered to look old, does not feel real to me. But that is just me, I know a lot of people love the style - or else you wouldn't be able to buy it in any furniture store. Besides, I am still experimenting with different techniques and styles and I want to learn more about all kinds of paints so this rocking chair became my "shabby chic" victim. Milk paint is a very very cool paint. I like that it is nearly completely environmental friendly (depending on what pigment you use) and that one can make unusual effects with it like spidery cracks and flaky paint. My problem was that one cannot buy ready mixed milk paint powder in this country, of course. So I would have to make it from scratch. It is the protein in milk, casein, which binds pigments to wood and creates the texture of paint and to get casein from milk one can curdle it by using lemon or vinegar which will concentrate the protein. However I was lucky enough to find casein in powdered form in my favorite paint store (www.pigmentim.co.il) so I avoided one messy step. I mixed the casein powder with water, borax and pigments in a 2 day process that I won't describe here. Then I painted two layers of different blues and "erased" paint in certain areas with a damp cloth to create a weathered worn-out look. I wasn't very scientific about it so the end result is perhaps not so "real" - just a nice rocking chair with fake old fading paint. Whilst painting the chair I found a very faded stamp underneath, I traced it onto paper and looked up the word "Malinche, Monterrey" on the wonderful all knowing internet. I found that the chair was from one of the pioneering furniture manufacturers in Mexico which specialized in rocking chairs and chairs of all kinds of woods (pine, mahogany, elm, ceder and beech). They closed down in the early 1970’s but the furniture is still very popular among collectors. After that I found the same rocking chair on a Mexican auction site price: $2,500. Hmm... I had already painted the chair by then and probably lowered the value by doing so, but if the new owner wants, I can restore it back to its former brown glory another day. Click on one picture to make it larger and see the before and after pictures.
0 Comments
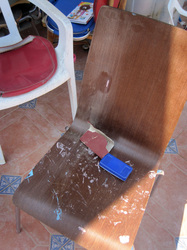
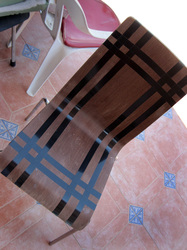
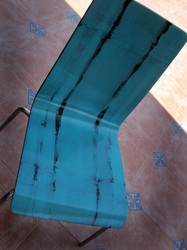
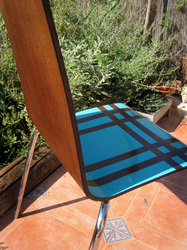
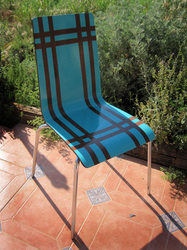
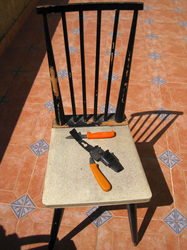
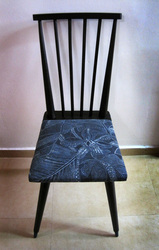
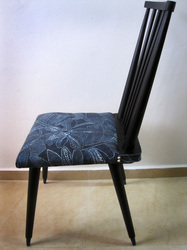
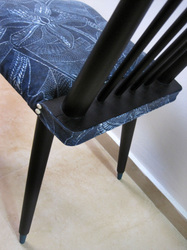
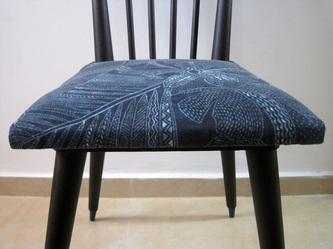
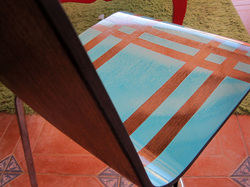 Linnea: Found a chair on the road, that someone thrown out because of some color stains on the seat . Except from the stains it was in an almost perfect condition. Here you can read about the transformation, step by step: 1. Sandpapered all sides of the seat. 2. Put insulating tape in the desired pattern on the wood. 3. Painted 2 layers of turquoise color and direct after the second layer, I took out the tape. 4. Painted the sides in black stain color + flax oil + vax. 5. Painted 1 layer of glossy varnish as a top coat and my work was finished!! For once the working process was easy and didn't take too long. YES! 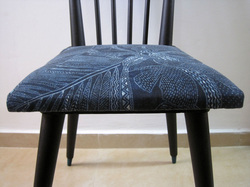 Linnea: Some weeks ago I bought three chairs in Kfar Truman, all of them were made around the 60's and in quite bad situation. Today I finished the redoing of my favorite one, a very bad painted wooden chair with loose back and loose legs. At least the bad painting made it very easy for me to take all the color off. From the beginning I really wanted to keep the chair with the original unpainted wood. But there were too many black stains, that I just could not get out. So I decided to try some of Caroline's home made stain color - black of course! And then I chose a beautiful textile designed by Ralph Lauren for the seat It is called "Native Orchid Floral- Batik" . The lower part of the chair's legs, I painted in dark bluish- green.. I am very happy with the result and maybe I will keep this one for my self. If you, who is reading this is interested in knowing what work lays behind
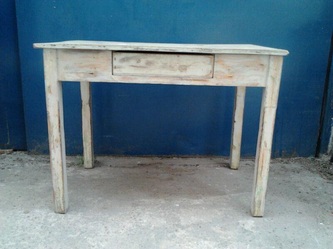
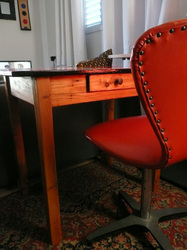
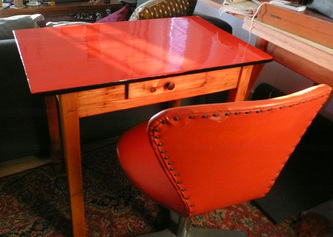
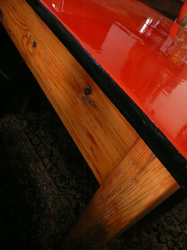
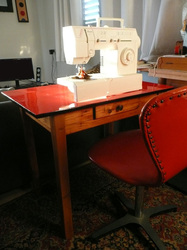
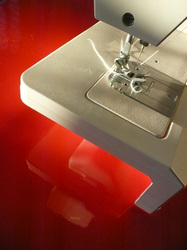
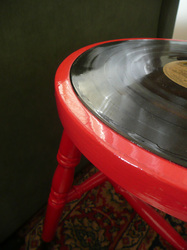
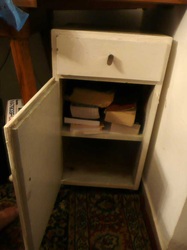
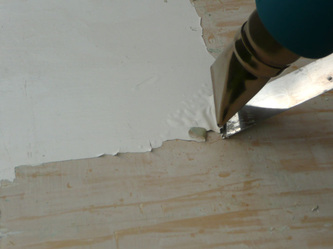
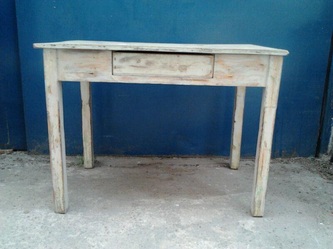
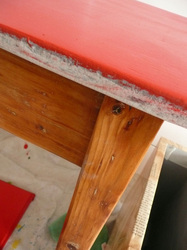
this product, so you are welcome to read about it here : 1. Remove old paint ( this time I was lucky since I could scrape it off with a knife) 2. Get out whatever that is not stuck from its place, like loose legs or back and sandpaper all very good, starting with a ruff paper and finishing with a gentle one. 3. Take out all that is stuck on the ends, can be a little tricky. And if you don´t do this, eventually what you glued back on, will fall off again! 4. Get the old seat out and all the 100 staples and nails........Sand paper all. 5. Glue all the pieces together again and make sure you attached them right - mark before with numbers because you WILL forget which stick is going in which hole. 6. Remove glue from all surfaces. 7. Paint the chair, at least 3 times no matter what paint you are using and remember to sandpaper in between with a fine paper! 8. In my case, I used stain color, 3 layers and after you need some kind of oil to bind the color to the wood and I used cold-pressed flax oil. 9. After 15-20 minutes you have to wipe the chair really good with a cotton rag. 10. Then you will need a furniture wax and I used Beeswax to cover all the wood with and after 15 minutes you have to rub it all in with a cotton cloth, really good! 11. After the chair is real dry, you can move on to the seat.......... but that´s another story and some more hours:-) 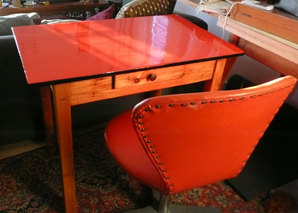 Caroline: Some time ago I found a tiny wooden table in terrible shape at the flea market. Even though the wood was soaked in oil and layered with 5 layers of thick white paint, oh and a large crack all down the center - I bought it. I wanted something really cheap and not so nice because I wanted to cut the legs off and make it shorter. With a pretty or nicely designed table it would have hurt too much to put a saw to the legs. The reason I want it shorter, is that it will be my sewing table and the normal height of a table make my shoulders and neck hurt after five minutes of sewing. So first of all I had to remove all the paint and sandpaper for hours, then I decided on matching my little red chair. I kept the legs natural and only oiled them with parboiled linseed oil for that smooth satin texture that I love. Then I painted the top and the inside of the drawer red and the edge black just because I like contrast. In the end I decided on giving the table top that glass effect with 8 layers of high gloss varnish, just because I wanted to see if I could do it. I am probably going to regret it big time, since every tiny dust speck shines like a star in a red sky. But for now I am just please that it turned out so well. For a table of such low quality wood and bad shape I think it turned out very cute. I am very sorry I do not have more pictures of the table before the redoing. Check out the gallery of pictures below: Linnea:
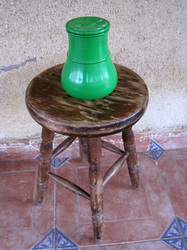
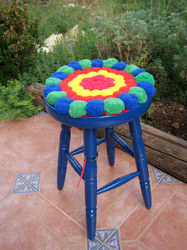
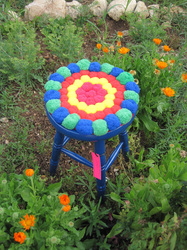
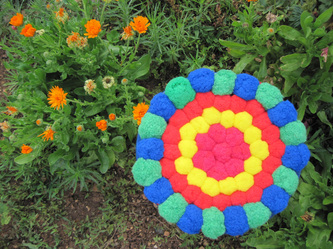
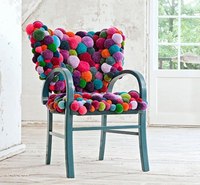
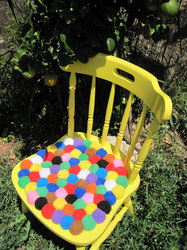
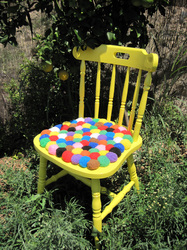
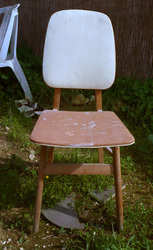
After making the first seat cover to the yellow chair, I had some more pom pom´s left over . So I made a new seat of what there was, mixed small and big one´s. When I had finished it , I realized that I needed a stool to put it on. Me and Caroline went on a road trip two weeks ago and found alot of new and fun places of fleemarkets and secondhand stores. One of them was : סבתא מרים - איסוף ומכירת פריטי וינטאג' ( Grandma Miriam ) , where I found a perfect little stool, broken in the middle but easy to fix. And now the yellow has a new blue friend! 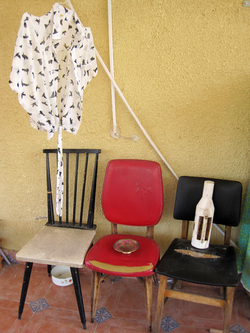 Linnea : Went on a trip today with my family to a new place that Caroline and I found last weekend ( but then it was closed). Outside they had second hand furniture and alot of funny junk and inside only antiques. Before we went, Caroline told me : -Linnéa, just no chairs, ok? And of course she´s right, I already have too many unfinished....well, I came home with only 3 more!? But they are beautiful and inspiring, so I hope she will forgive me;-). Linnea: Found this wooden chair on he street in our village. My father helped me to restore it and to put it back together again. In the back of my head , I had a vision of a beautiful pom pom chair that I found on the internet : Of course my chair got the colour of lemon yellow and the pom pom´s, I sewed on to a felted fabric and then glued it to the seat. Here is the result, you can click on the pictures to enlarge.
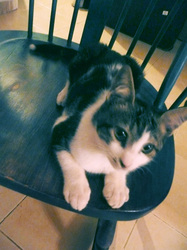
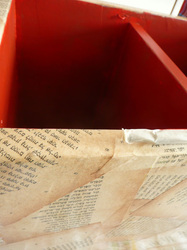
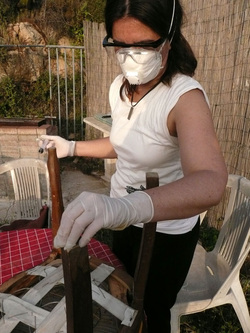 Poisoning the wood worm beetle Poisoning the wood worm beetle Caroline: You might think I have died or gone to sleep since there have not been much progress with the renovation of furniture or on the blog. However that is not really the case. As I have said before it is very tedious to watch paint dry. And even though a chair might take 7 hours in actual work hours to REDO, if you count the amount of time I spend waiting for paint/glue to dry or trying to find an accessory it can in the end amount to many weeks. On top of that we are having the longest winter, it never stops raining AND my cat just had kittens. If you are frustrated - because I know that you are eagerly waiting for my next art piece :) - then believe me when I tell you that I am EXTREMELY frustrated. Here are some examples of what is going on. Click on a picture below to see enter the gallery of ongoing projects and read about my problems: Linnea:
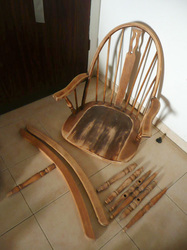
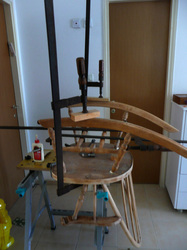
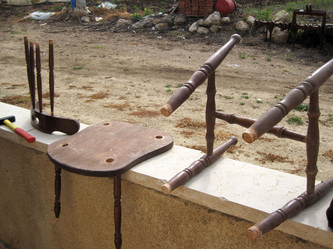
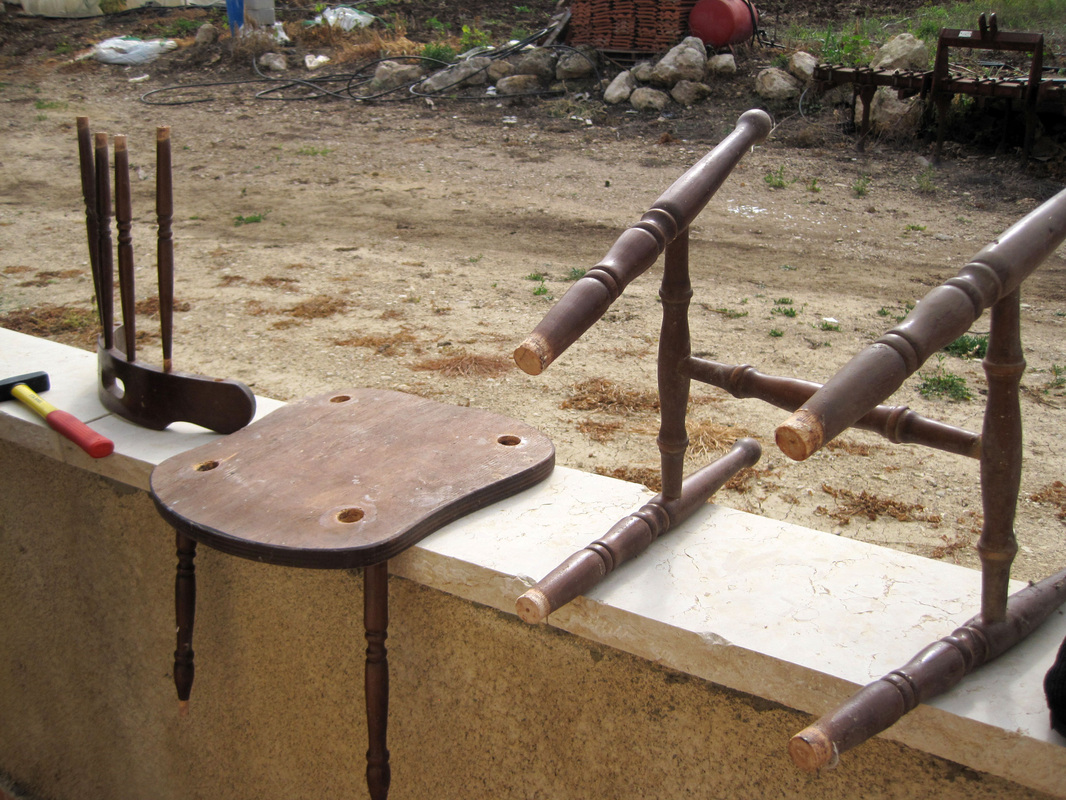
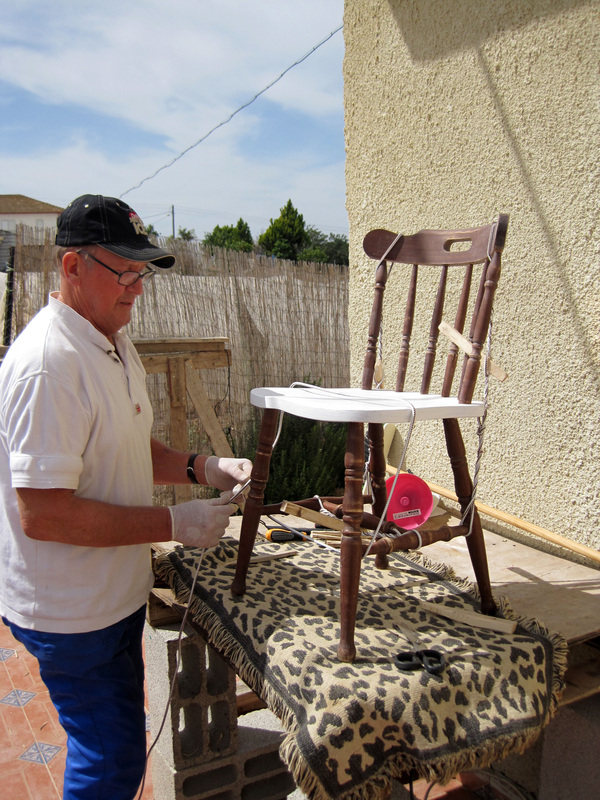
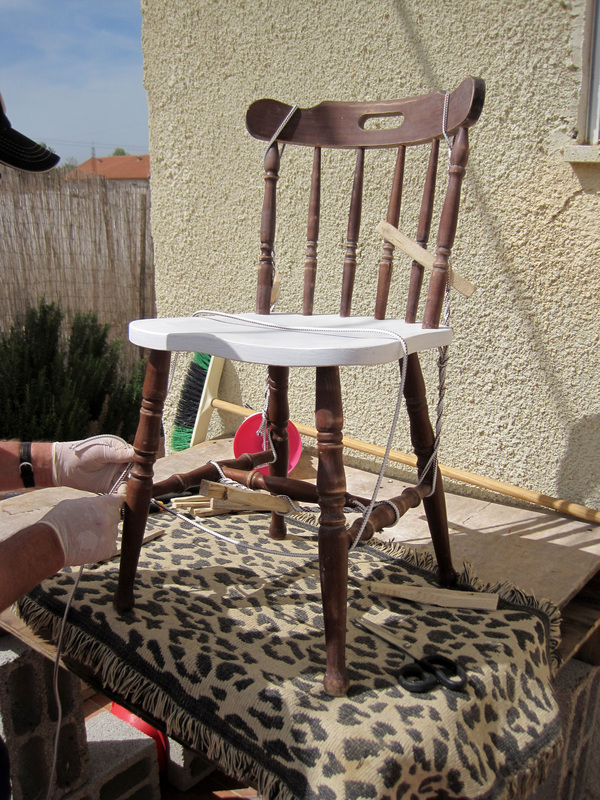
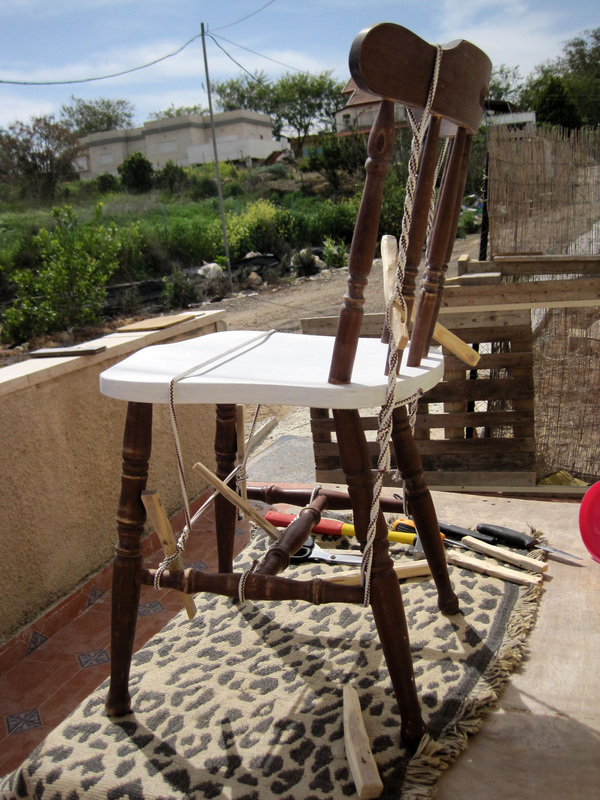
Today is the last day of my fathers 2 week visit here in Israel. It has really been a wonderful time and I have learned a lot. My father is 73 years old and has worked as a carpenter for most of his life. He actually built our summerhouse in Sweden and all its interiors alone and it´s still standing strong, looking the same after nearly 40 years! I really admire his way through life and his way of looking at things. Despite illness, he fights on and wants to get as much out of life as he can! One of the things that I have in common with him, is that we both like the challenge of making something out of nothing. Using the tools and materials that we have and try to come up with solutions to what´s missing! So this is what we have been doing a lot of these 2 weeks, especially since this is a typical Israeli house:-). There was no gate between the outside wall and the fence, but now we have one thanks to my dad! And now, we can also close the doors to all the rooms properly, hang the towels on the bathroom wall etc. But I am most happy for the new working table that he put together for me outside, made by blocks and a pallet on top! Finally I can work without hurting my back. Why didn't I come up with that before??? Another thing that he helped me with was a turned wooden chair that I found on the road. We needed to pick it all apart and glue it back on again. But since the chair was so delicate, you couldn't use screw clamps. Instead we had to press it together, using thin ropes and tension rods of smooth wood. I took some pictures of it to remember how to do it the next time and maybe someone else can have use for the information too! Anyway, my dad is going tomorrow morning and my heart is aching. But I am so thankful for this time. We don´t see each other so often now when I live in Israel. But when we do, it is for a longer period and we both appreciate the time more than before. Linnea:
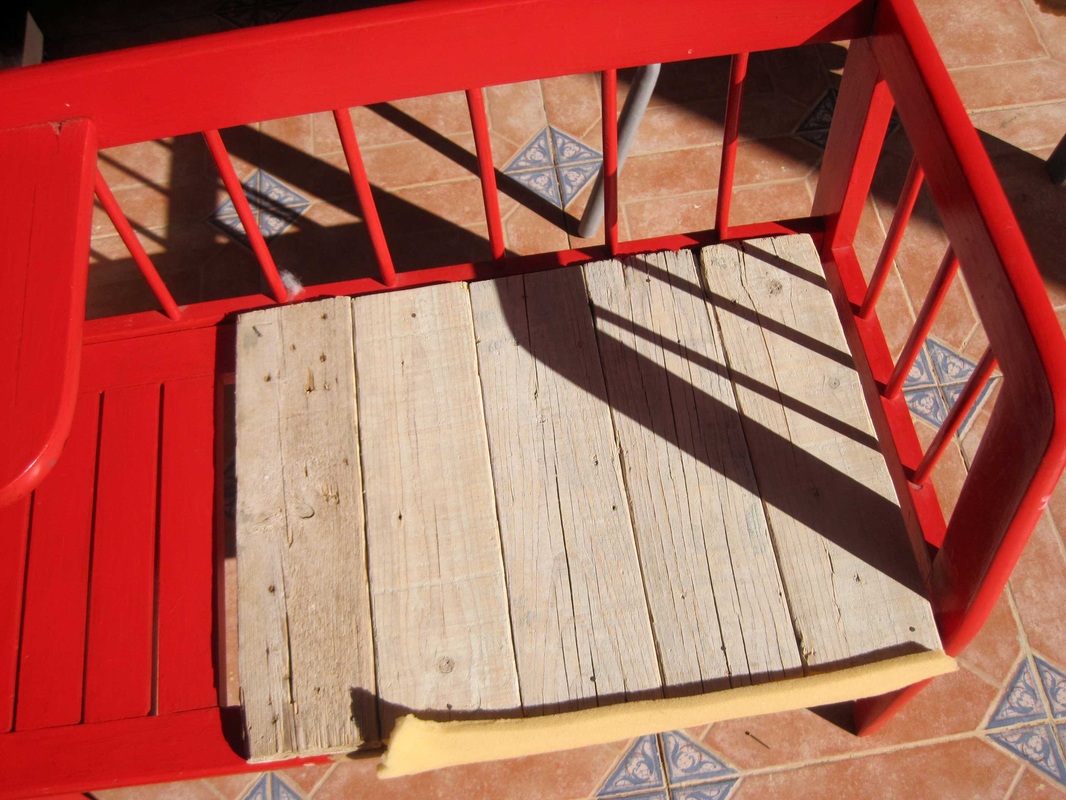
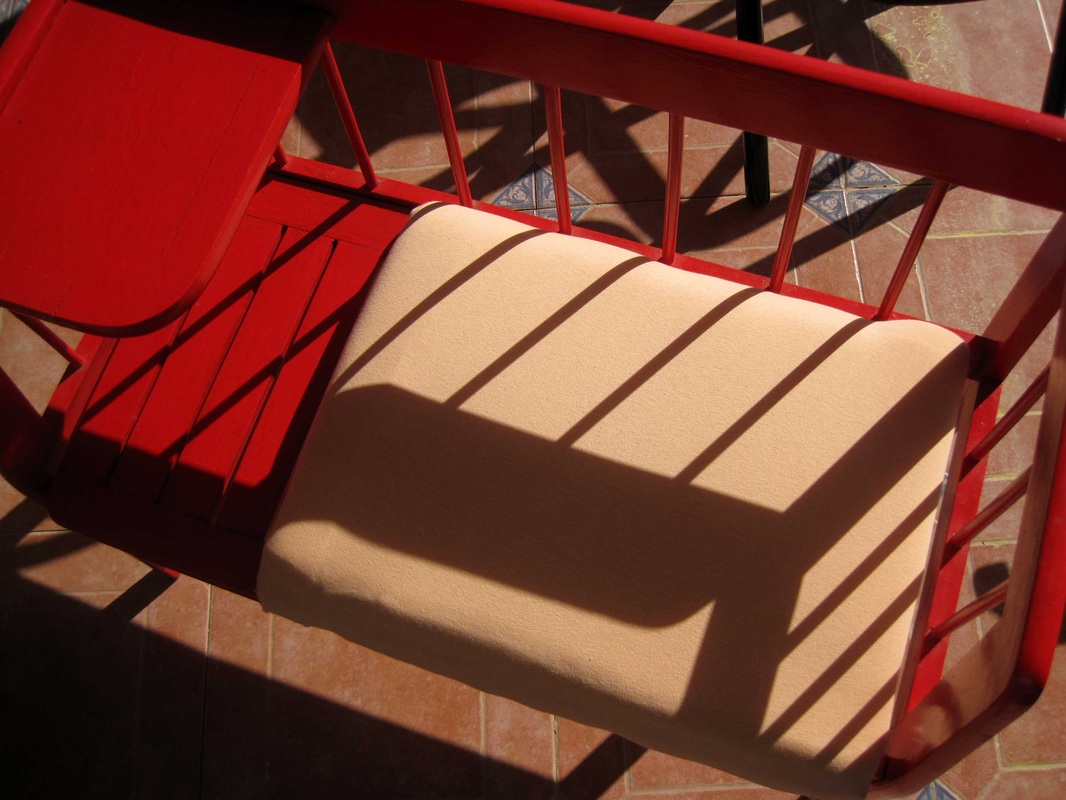
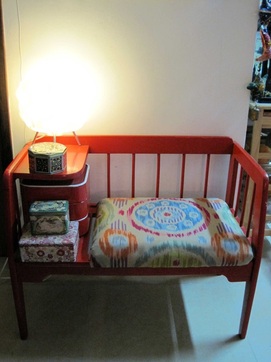
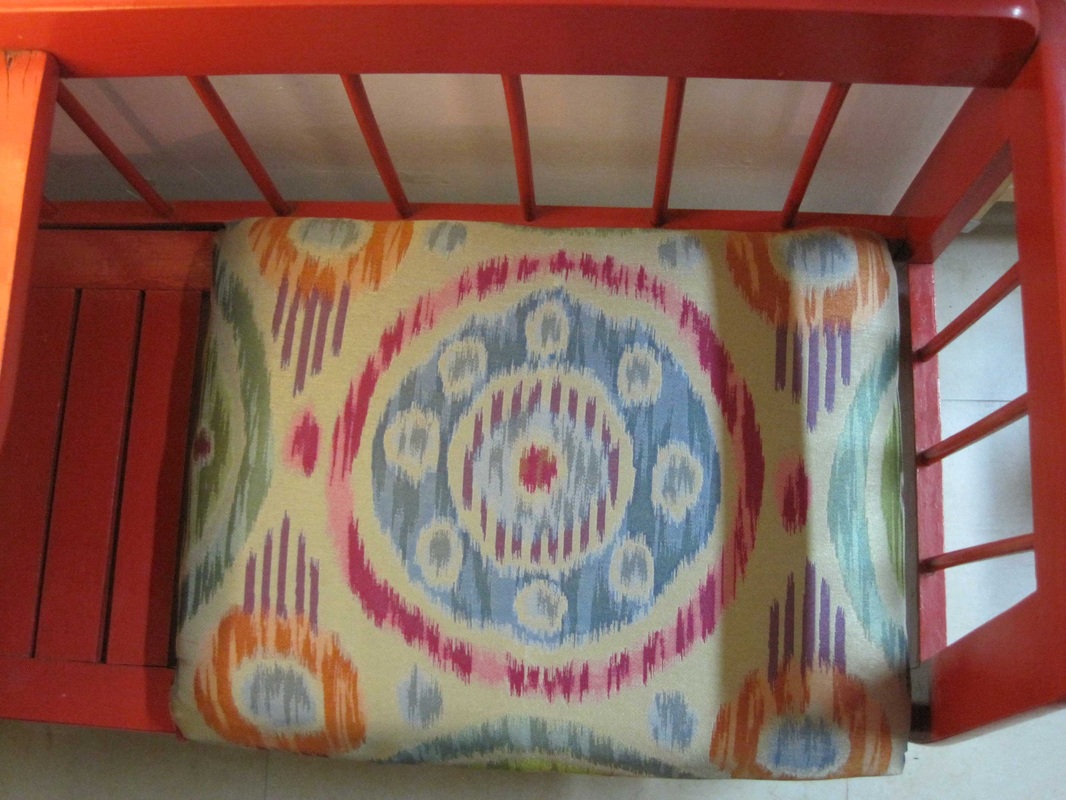
Long time a ago when we lived in Rishon, I painted an old telephone chair red. The seat was made of woven ropes and in a bad shape, but back then it still hung together. After 2 years in Sweden, we returned to Israel and I took back the chair but the seat was now completely damaged. It took me some time to get the inspiration to fix it - 2 years actually. Then I got some really beautiful designed fabrics from my sister in Miami, and started to work! First I got rid of all the ropes of course, then I sawed a wooden board( found on the street) into equal pieces and placed them as the base seat and on that I glued foam from an old chair. Then I riveted a stretchable fabric to keep all in place. Finally, I riveted a beautiful Satara-patterned fabric and now my heart is at peace, I really don´t enjoy having unfinished projects in my living-room!!! |
Linnea & Caroline2 foreigners in Israel trying to find their space. Up-cycling furniture and clothes for a better environment and future. Check us out on Instagram:
|

 RSS Feed
