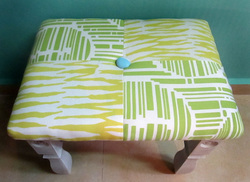
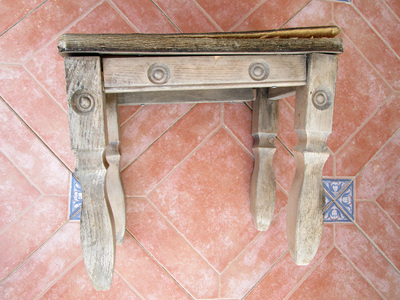
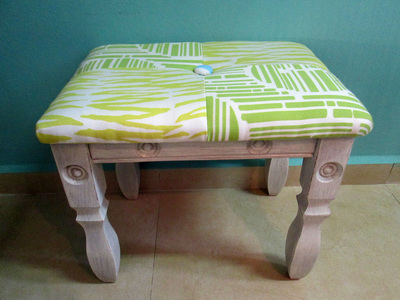
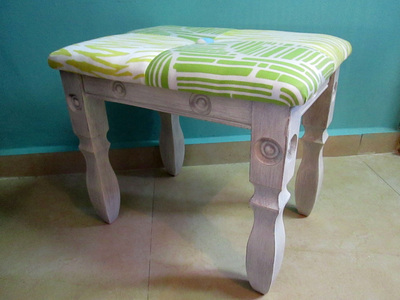
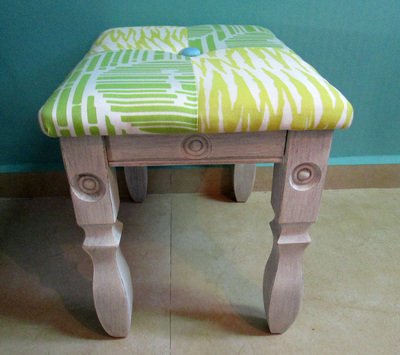
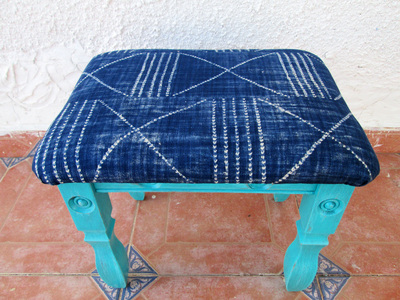
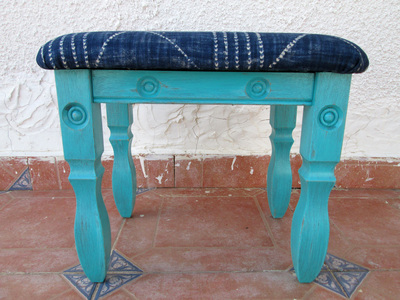
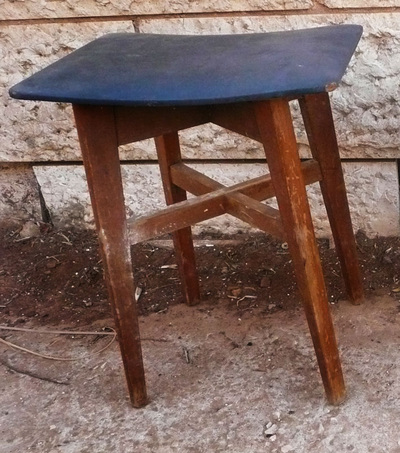
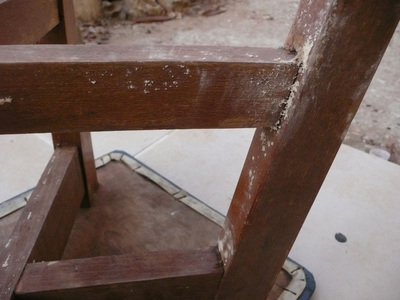
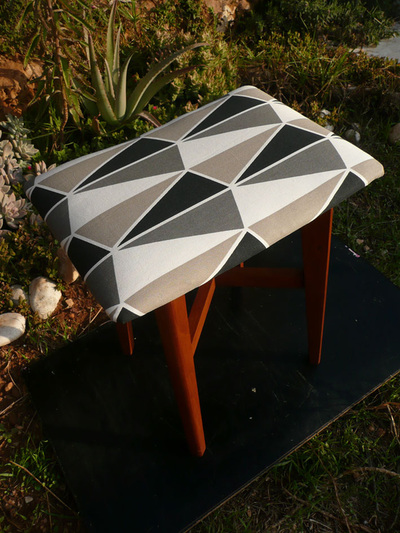
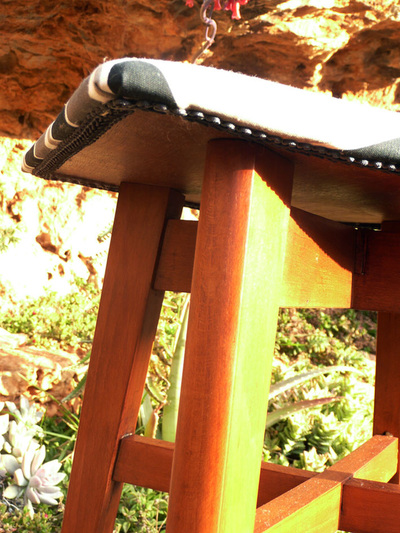
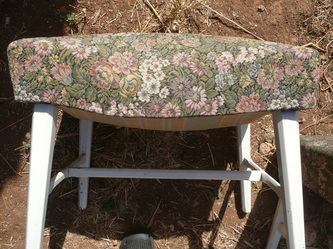
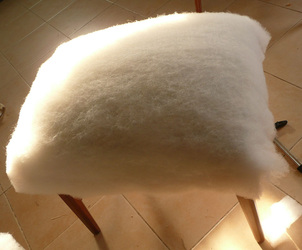
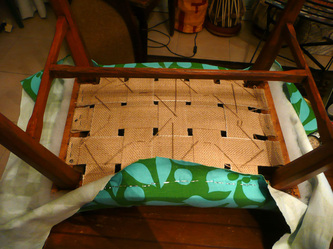
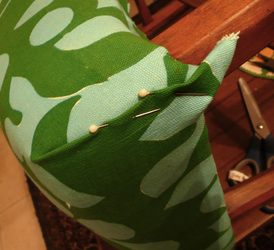
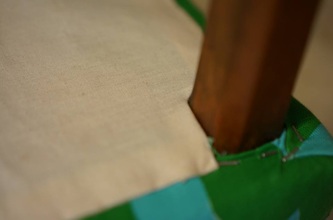
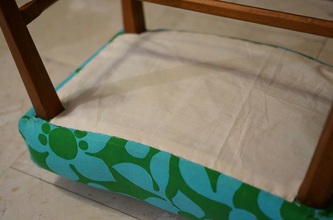
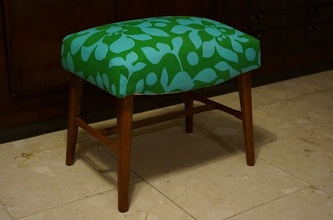
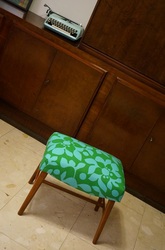
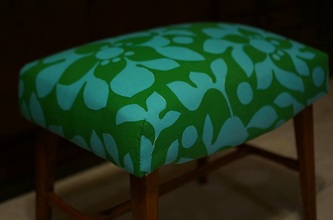
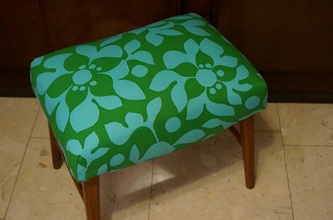
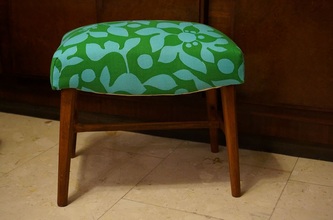
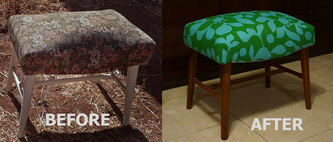
 Linnéa : My daughter brought me this project, the twin stool to the one I got before from the neighbours. I had to promise her not to sell it, so this one is for Alma, my angelheart! I made it different from the first one, that was colorful and very bluish. To this one, I used two Trina Turk patterned fabrics and a off -white color for the wood, also with a shabby chic touch.
0 Comments
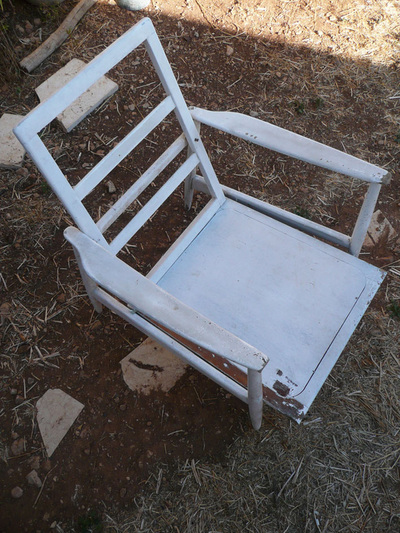
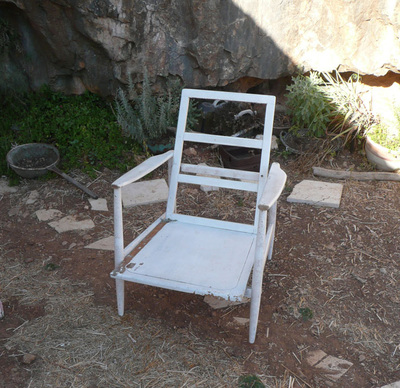
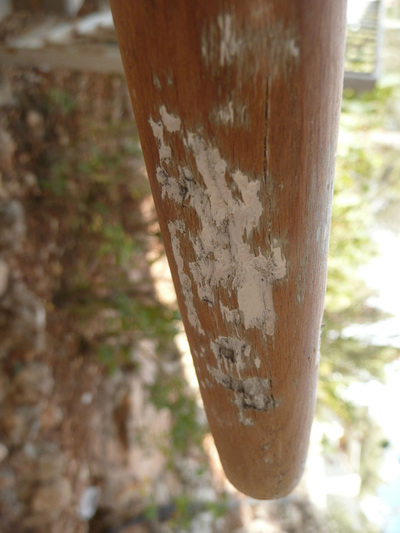
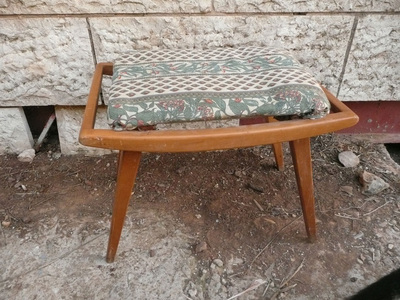
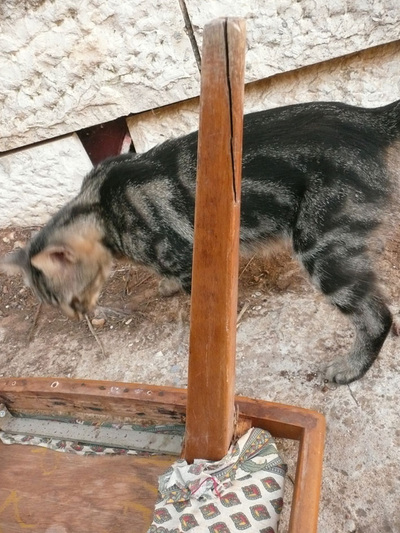
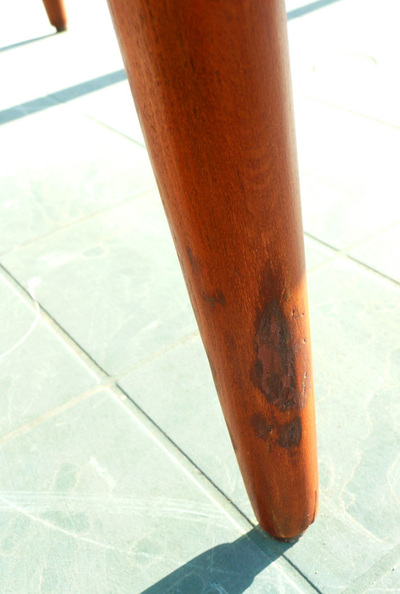
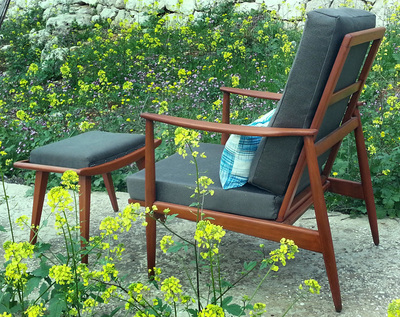
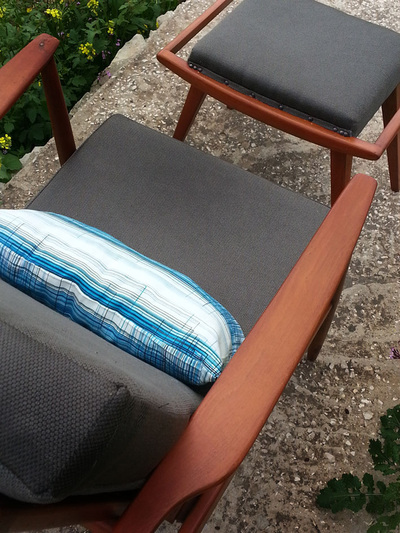
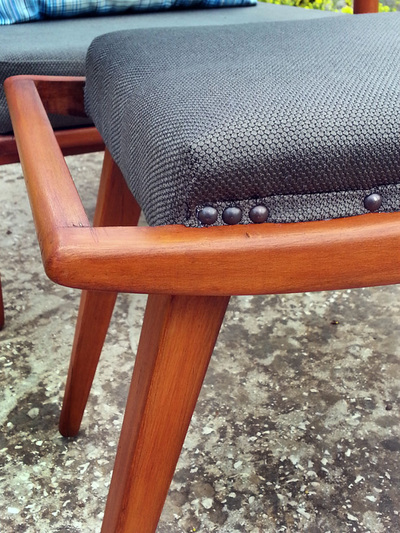
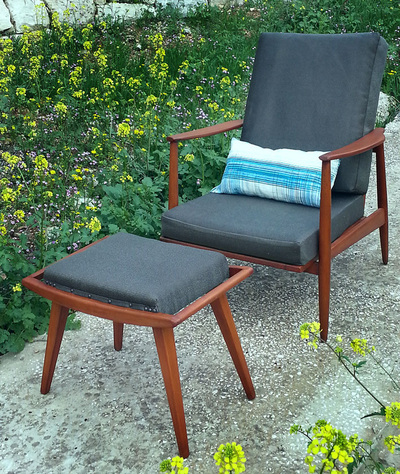
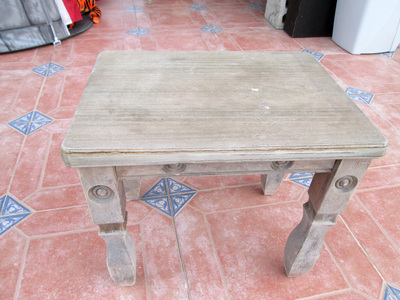
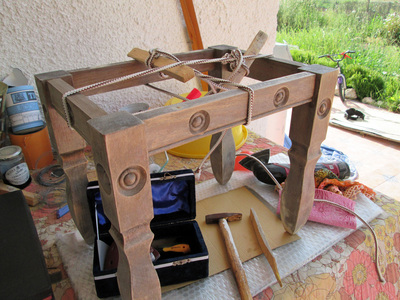
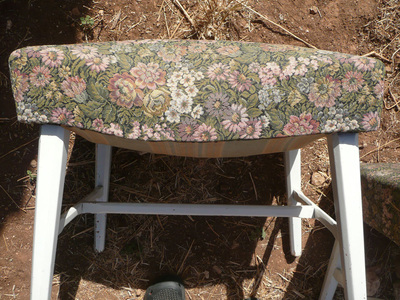
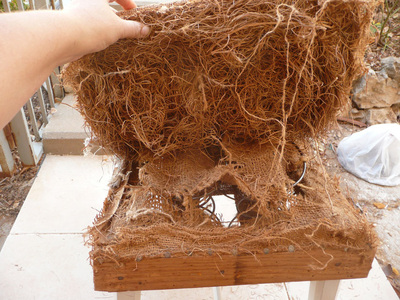
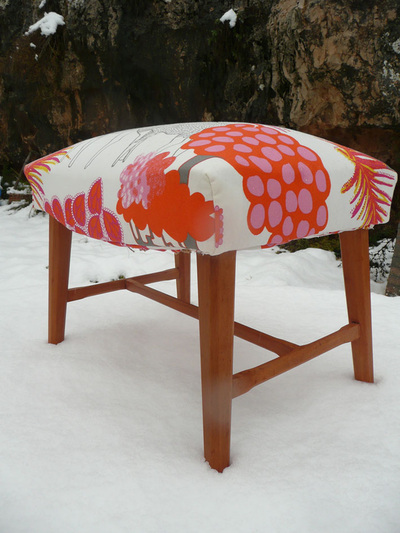
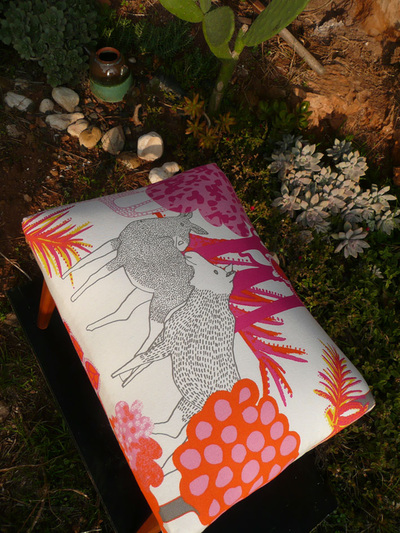
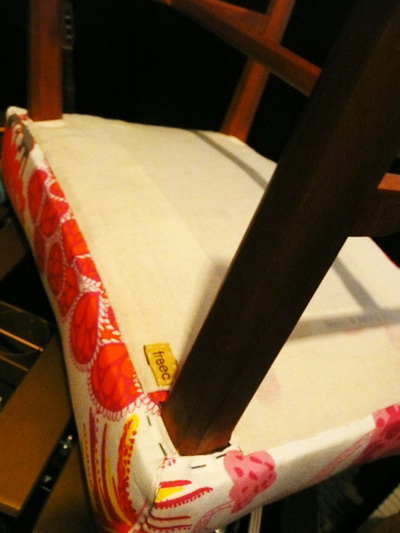
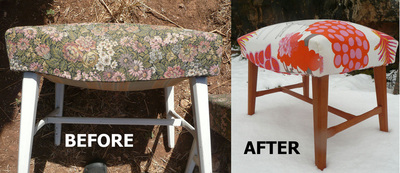
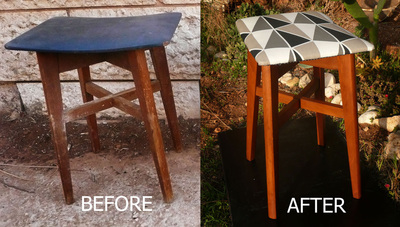
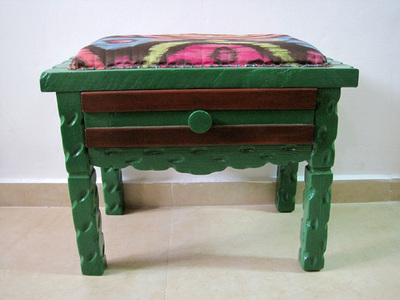
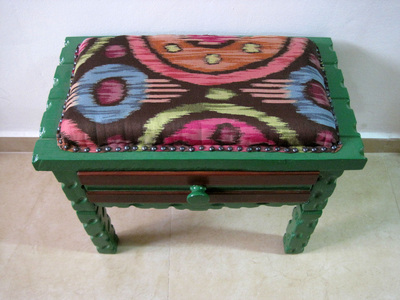
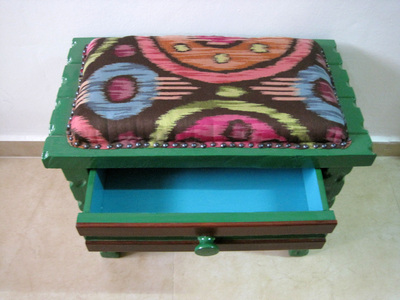
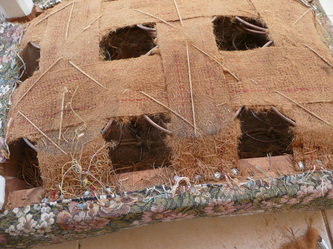
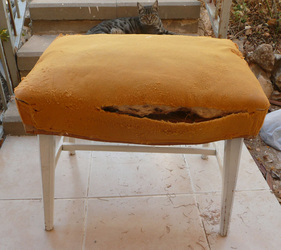
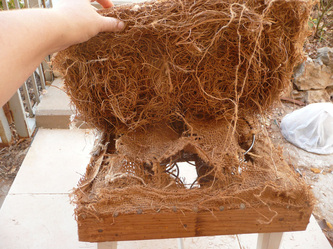
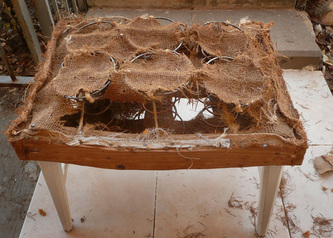
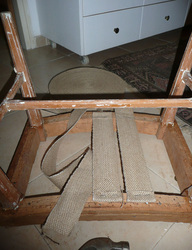
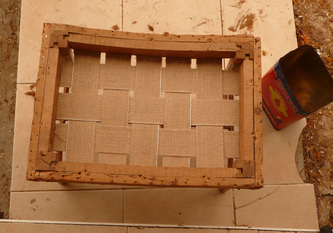
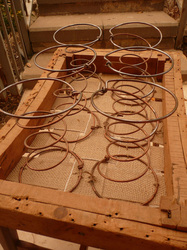
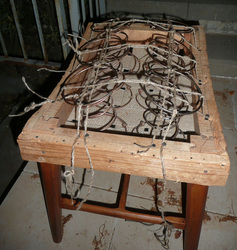
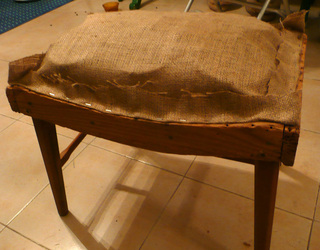
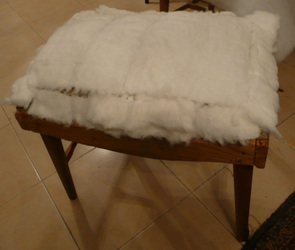
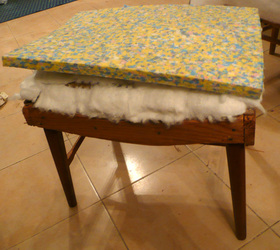
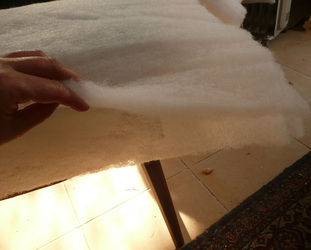
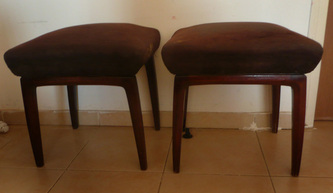
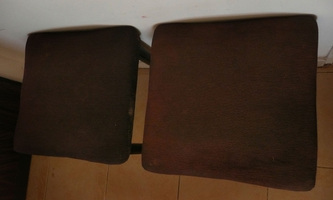
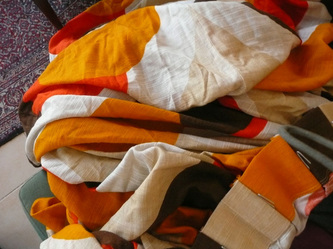
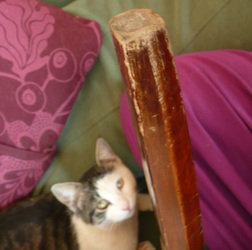
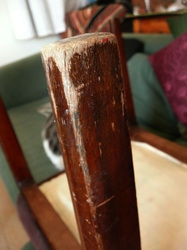
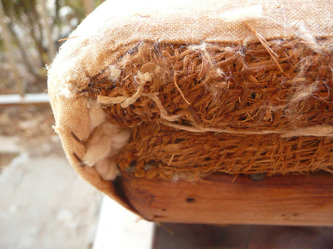
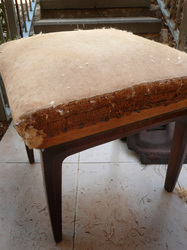
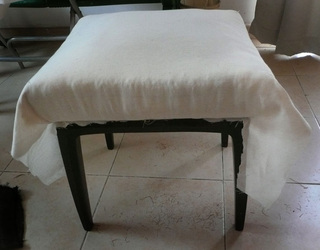
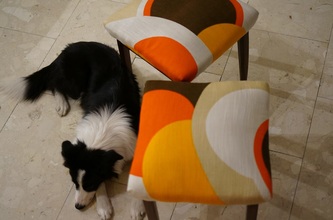
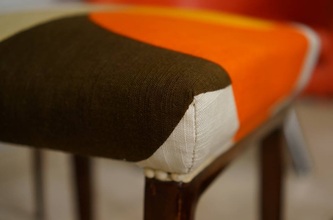
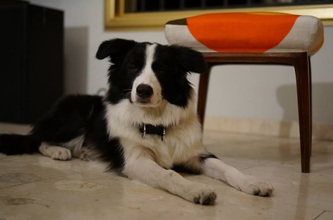
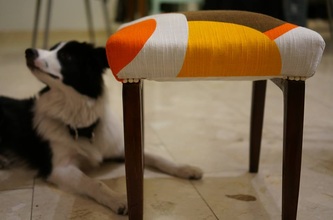
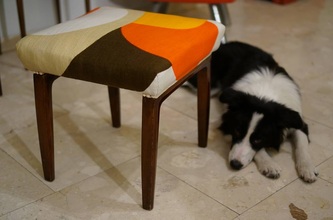
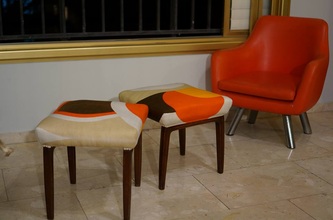
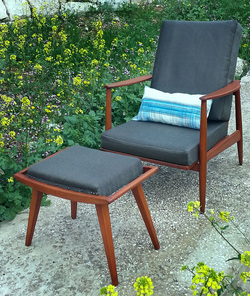 Caroline: I got this chair for next to nothing in a terrible condition - painted white and without seats - from a student who wanted to get some extra cash. The chair had bite marks all over the legs from a smaller dog and one armrest had been fastened into place with a large nail right through the top. I used a heat gun to get most of the thick paint off and sanded it down, to get the paint out of the bite marks I actually sat with a small pin needle and chiseled it out with huge patience. It was utterly boring and many days I wanted to give up and leave little flecks of white paint here and there. But I didn't and now this is my favorite armchair. I kept the large nail through the armrest as a reminder of its past and I patched up the bite marks a bit, but also here I wanted to keep a bit of history on one leg. The seats I recycled from an old no longer existent couch that I had found in a friends attic. The little stool I bought at the flea market. Someone had literally staple gunned an ordinary pillow to make a seat for it. I built it up from scratch and glued a large crack running down one leg. I stained it and dressed it to match the armchair. Many have seen the resemblance of these kind of chairs and the 1960s Danish styled furniture. I have been told that at the time carpenters in Israel actually just copied or borrowed ideas straight out of Danish furniture catalogs since it was nearly impossible or extremely expensive to import these kinds of items. Please click on one picture below to see the gallery of before and after pictures. 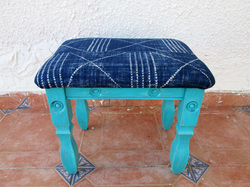 Linnéa : It has been a while since I had the pleasure to redo a furniture. We are about to move house and I have been busy doing a lot of new clothes and accessories to our store - also projects in UndoRedo spirit, but not as fun as furniture. This little piece was a gift from the neighbors. It was broken, boring and ugly but it got a new cute look with a touch of shabby chic and textile of Ralph Lauren! 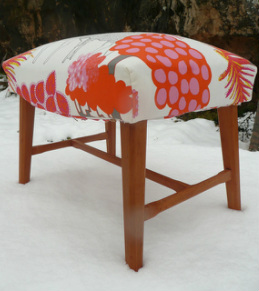 Caroline: A couple of weeks ago we had snow, an amazing amount of snow and it stayed for quite a while. I took the opportunity of being boarded up inside to finish some odd jobs - in other words 3 little stools. Shrafraf in Hebrew, my new favourite word. I am hoping to sell 2 of them to pay for my lovely sander that I bought a while back. Let me know if you are interested. Click on a picture below to enlarge and scroll through the gallery: 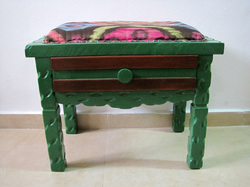 Linnéa : A long time ago I got a very ugly side table that was missing its drawer. I didn't like the height of it so the first thing I did was to cut the legs and after sandpapering, I painted it green. What we really needed in the house was a stool where you can sit and put your shoes on. So I made a seat with an exclusive fabric called " Satara ", to make the stool look a little more chic. I nailed it to the wood with tacks and after that nothing more was done for some months. The reason was the drawer! I just couldn't find a good one that fitted and in the end I just made one out of a old drawer that I had to undo and redo completely! And finally we have a stool standing next to the front door and spreading a little indian light ( Satara = city in India Maharashtra ). 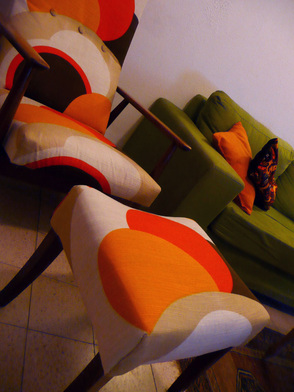 Caroline: This is Yaron's chair which had been covered by a blanket for the past number of years to hide the bland skin coloured fabric of it. After finding a nice colourful curtain from the 70's they asked me if I could reupholster it. Which is ok but just to let everyone know, to use a fabric that is not meant to be used for upholstery of furniture is a little bit tricky. First one must stabilize the fabric by gluing (ironing on) another material called Vlieselin on to the back. This takes along time since the iron has to stand in one spot for at least 30 seconds. So you can imagine the amount of time it takes to do a big piece or curtain with a tiny iron. The second problem is that with the Vlieselin on the back the fabric becomes very rigid, it is not stretchy at all, which makes it very hard to stretch over a chair that is rounded. Therefore one ends up with little creases which are hard to remove. I am hoping that with time that the fabric will shaped itself, but time might just as well make the creases more visible. I will have to wait and see. In the end it turned out quite pretty I think. 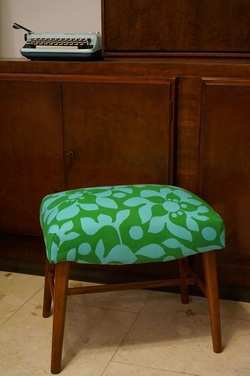 Caroline: As requested here is a step by step guide of the process of redoing a stool. Most of the text you will find under each photograph. I just want to say that I have discovered that the world of upholstery is amazingly stimulating and fun! All the different layers and the seat springs that in this case have been hand made by someone at least 70 years ago are beautiful. Click on one picture to see the gallery and step by step guide: 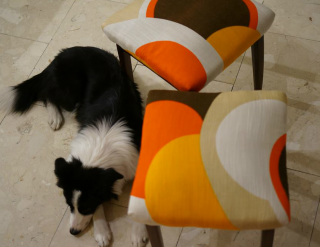 Caroline: This was a commissioned job, to reupholster 2 stools from the beginning of the last century. The clients had an old curtain from the 70's that they wanted me to use and it turned out great. Click on a picture in the gallery below to get details of each step of the transformation from brown, dirty corduroy stools that melted into the background, to happy colourful stools that make a statement. Thank you Yaron for taking the beautiful 'after' pictures and thank you Khaleesi for posing so nicely! |
Linnea & Caroline2 foreigners in Israel trying to find their space. Up-cycling furniture and clothes for a better environment and future. Check us out on Instagram:
|


 RSS Feed
