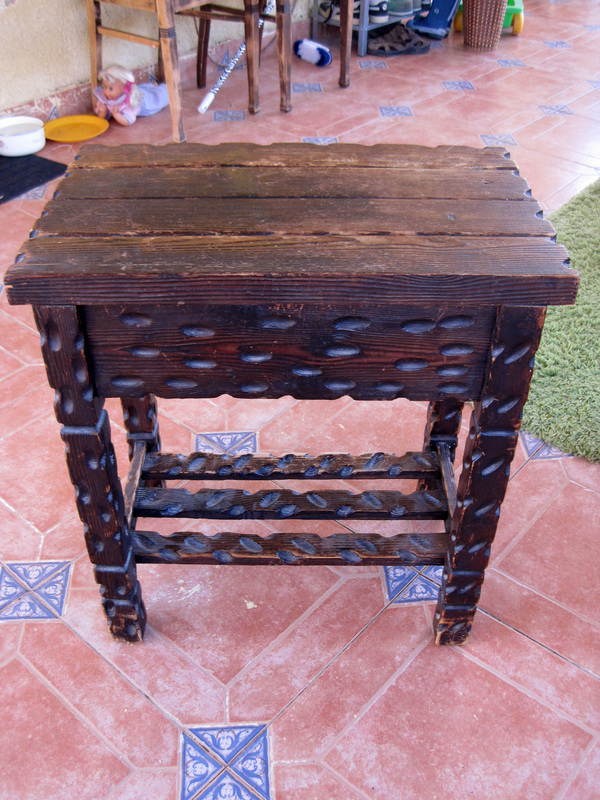
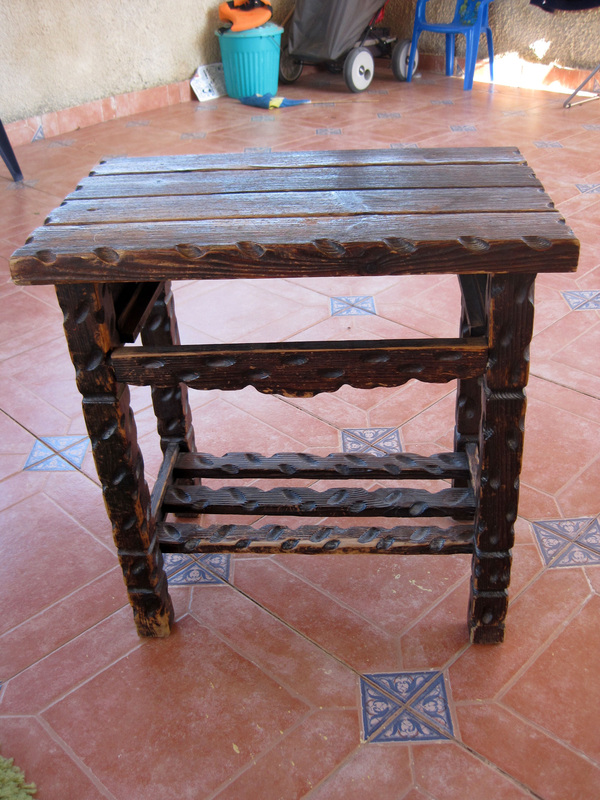
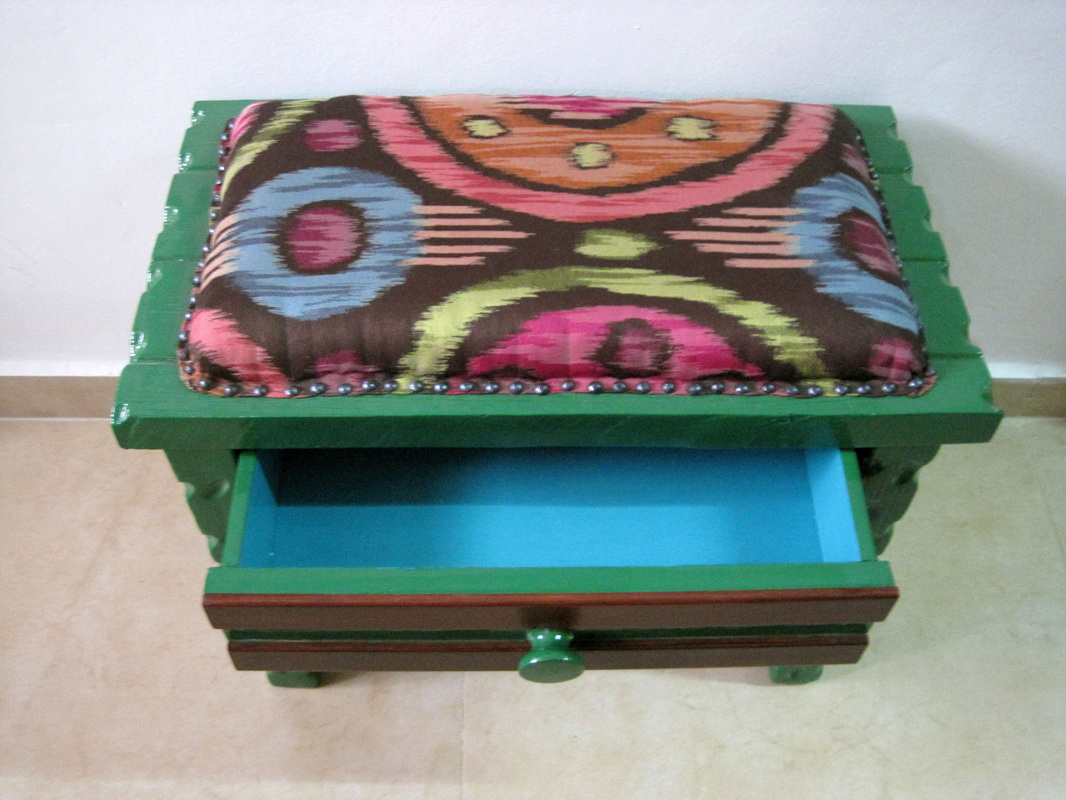
 Linnéa : A long time ago I got a very ugly side table that was missing its drawer. I didn't like the height of it so the first thing I did was to cut the legs and after sandpapering, I painted it green. What we really needed in the house was a stool where you can sit and put your shoes on. So I made a seat with an exclusive fabric called " Satara ", to make the stool look a little more chic. I nailed it to the wood with tacks and after that nothing more was done for some months. The reason was the drawer! I just couldn't find a good one that fitted and in the end I just made one out of a old drawer that I had to undo and redo completely! And finally we have a stool standing next to the front door and spreading a little indian light ( Satara = city in India Maharashtra ).
0 Comments
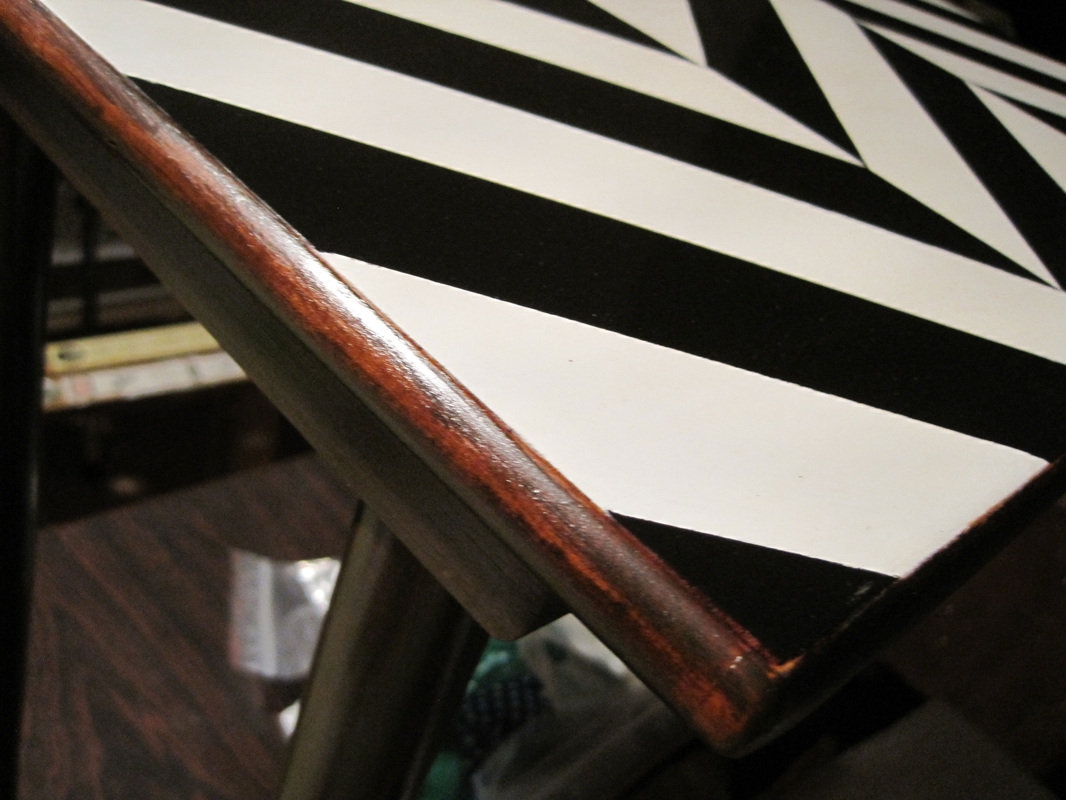
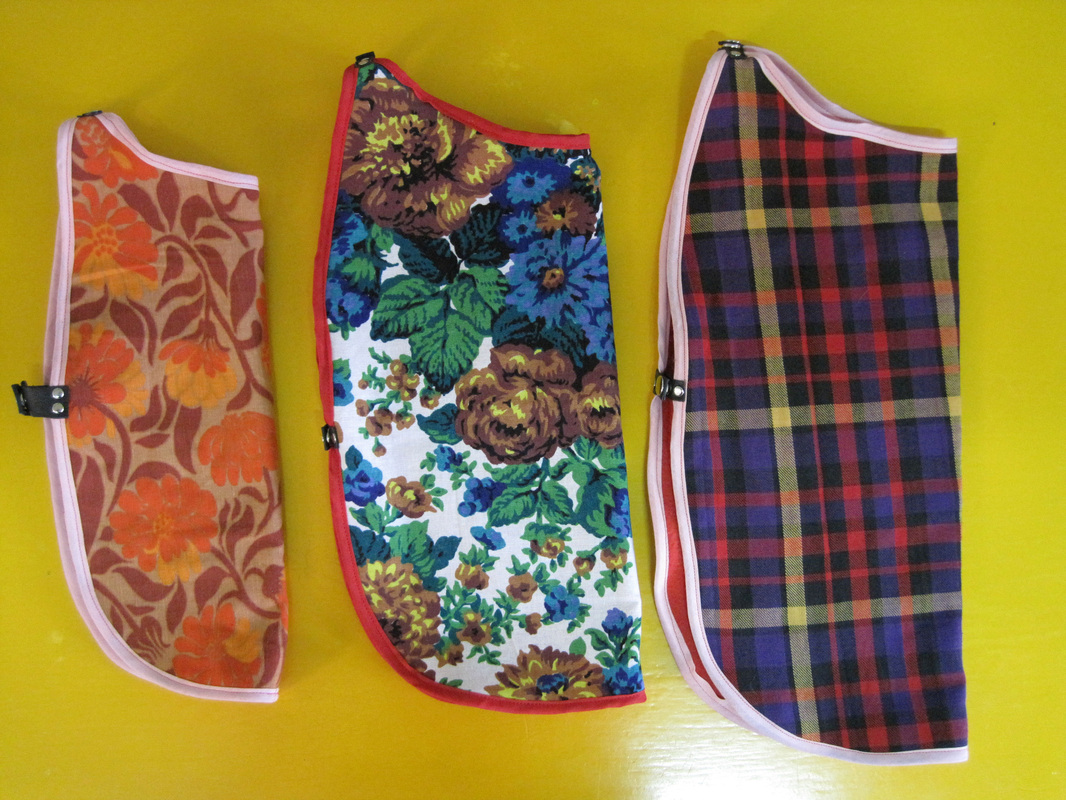
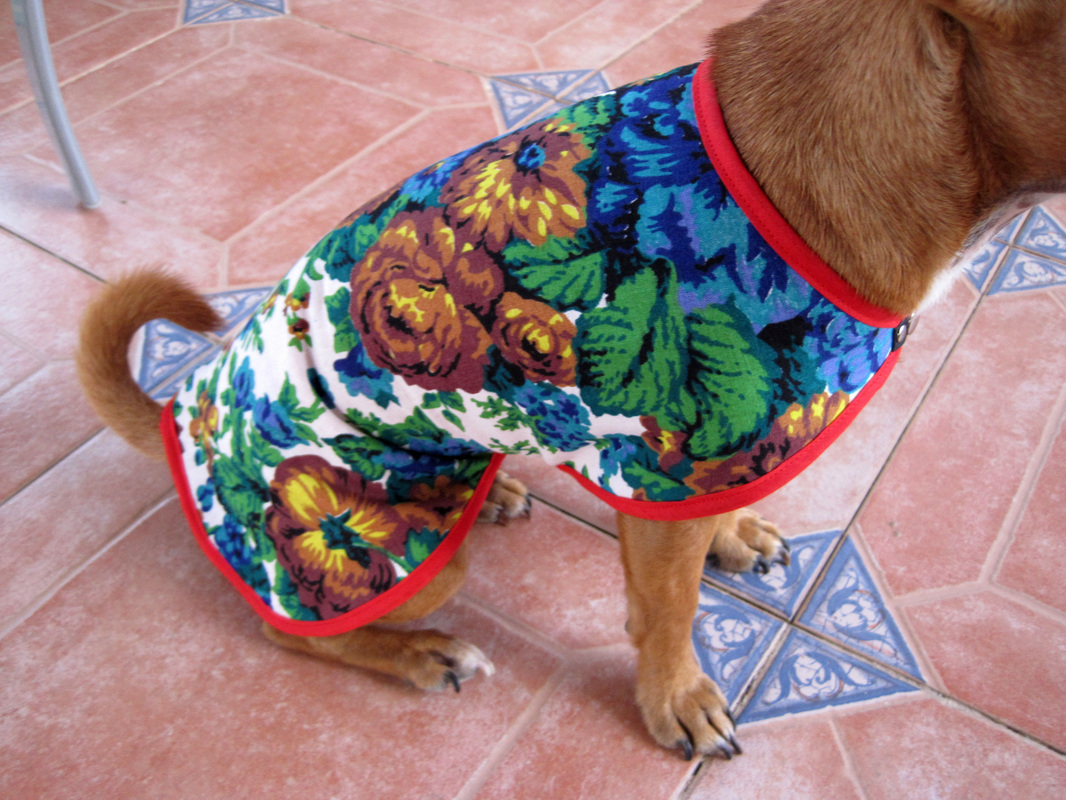
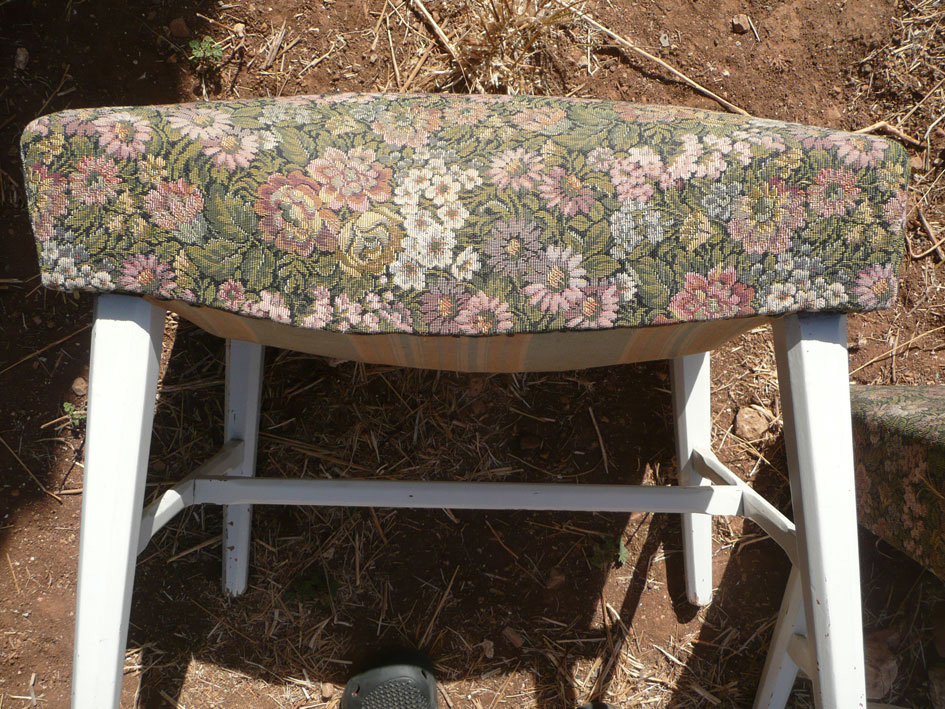
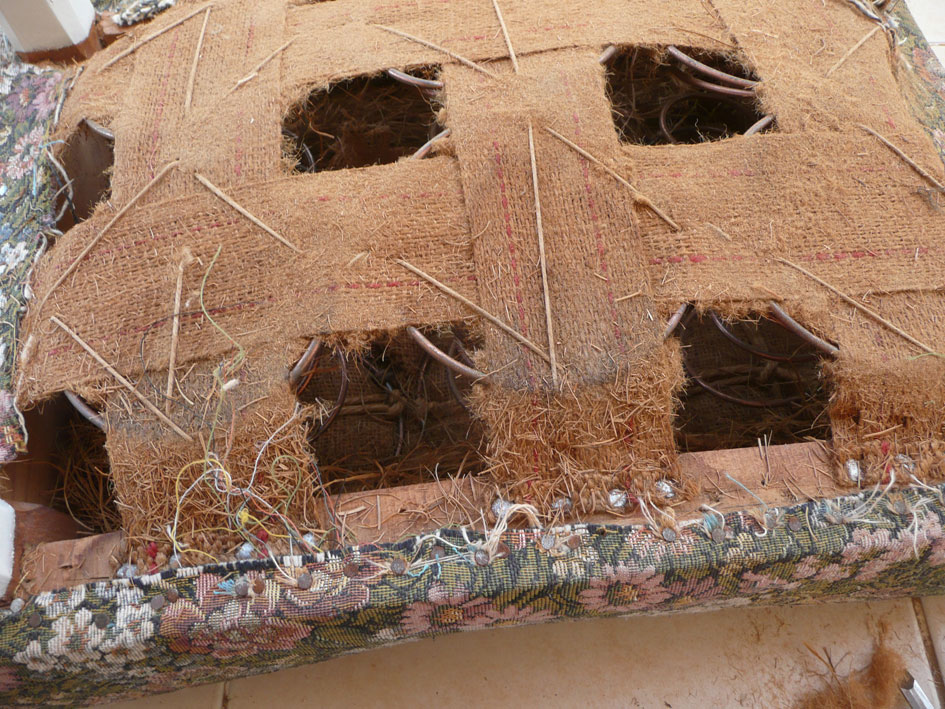
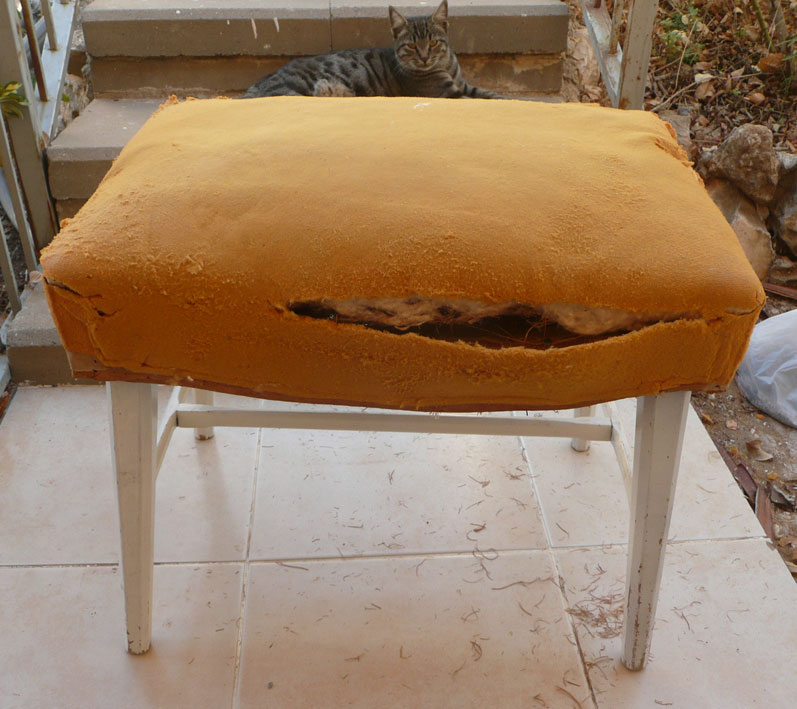
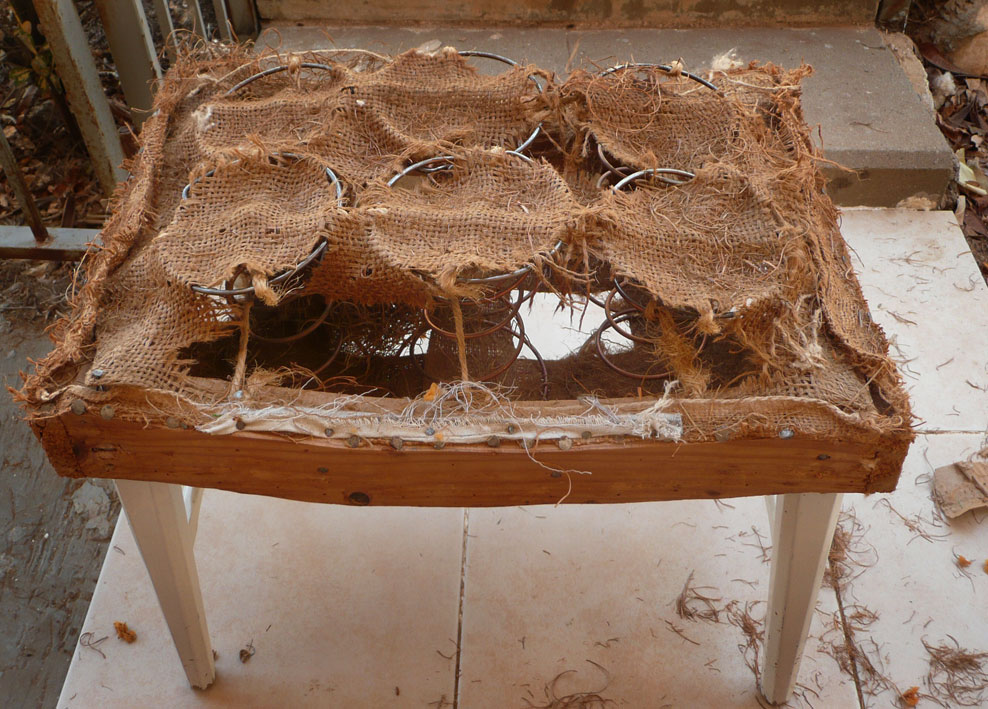
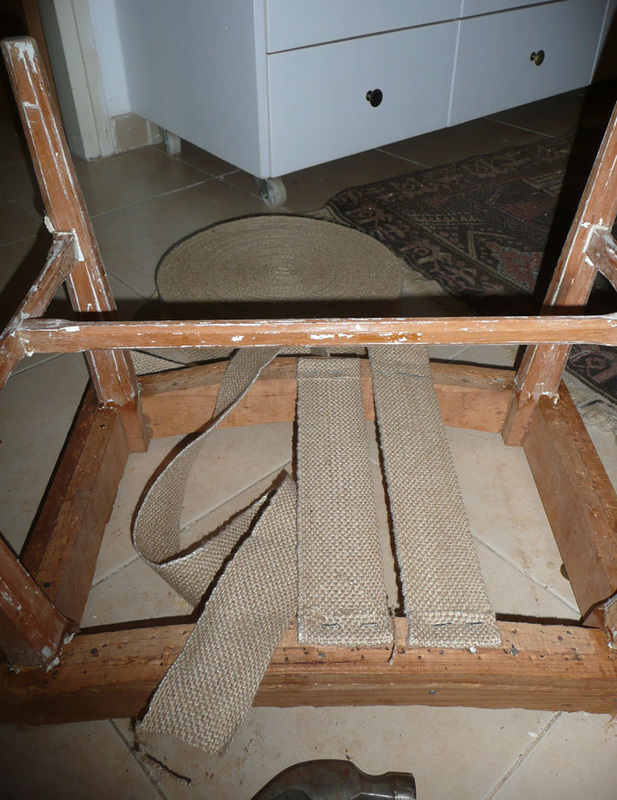
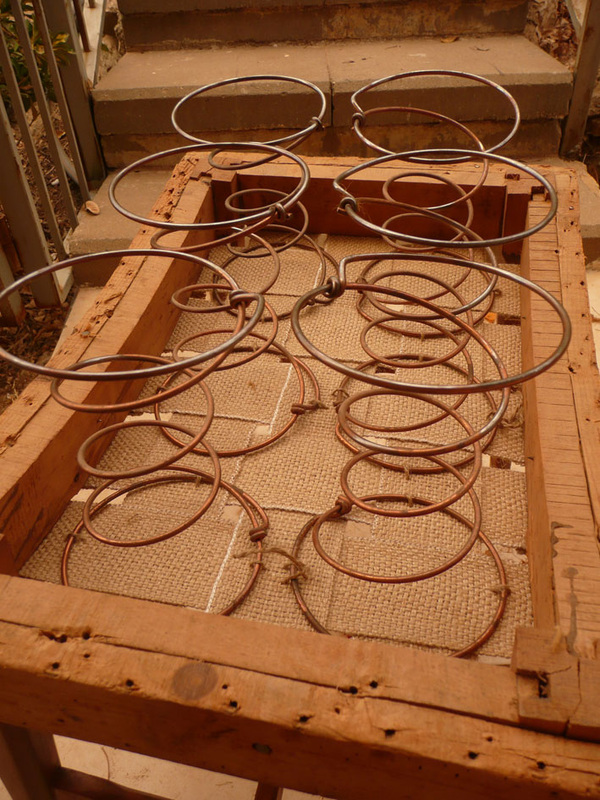
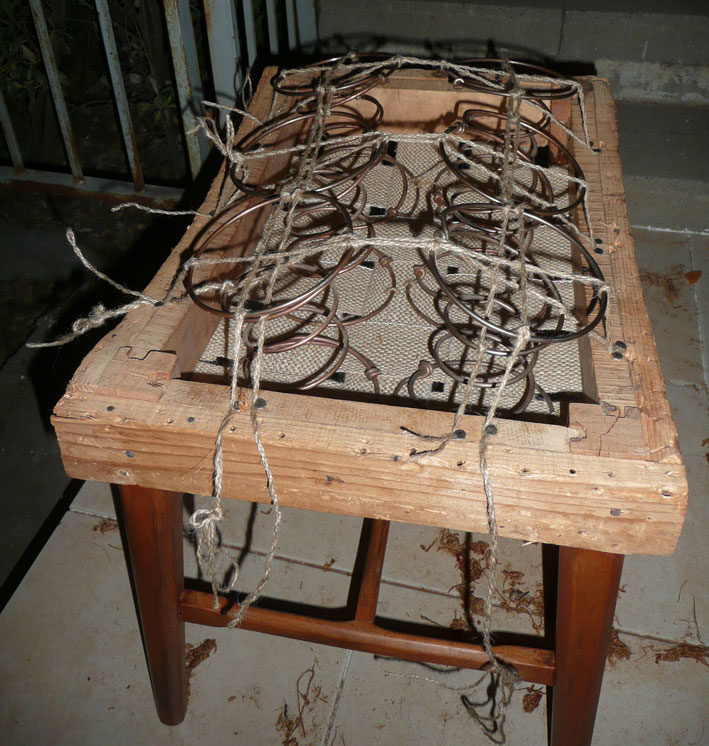
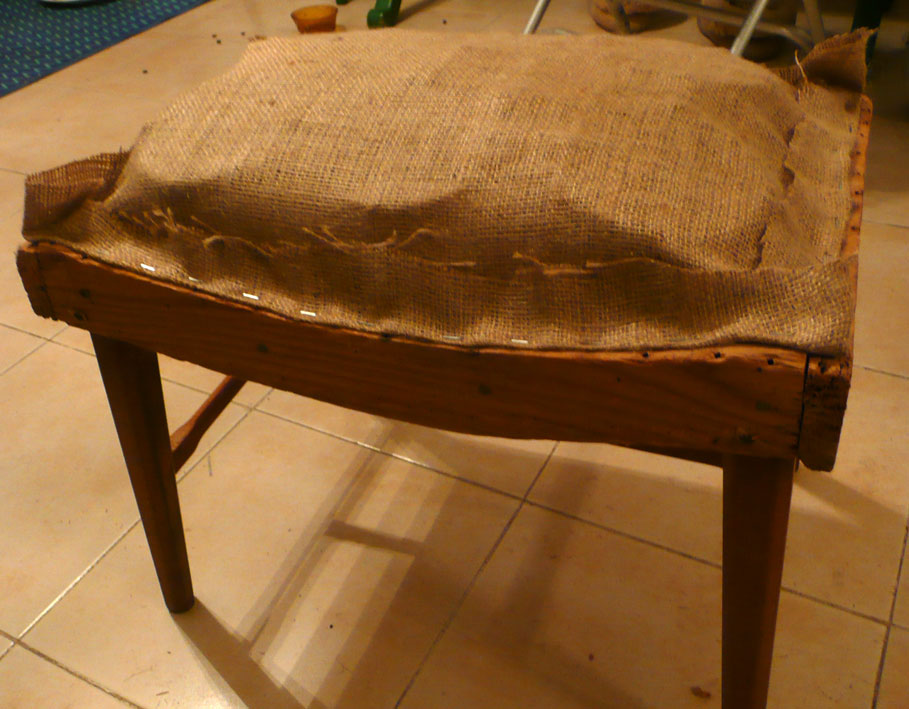
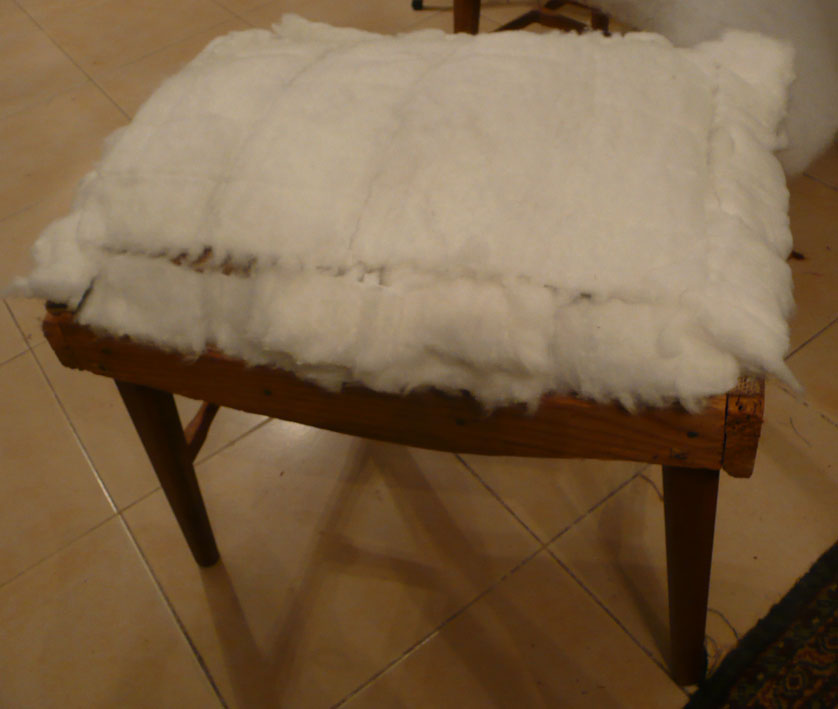
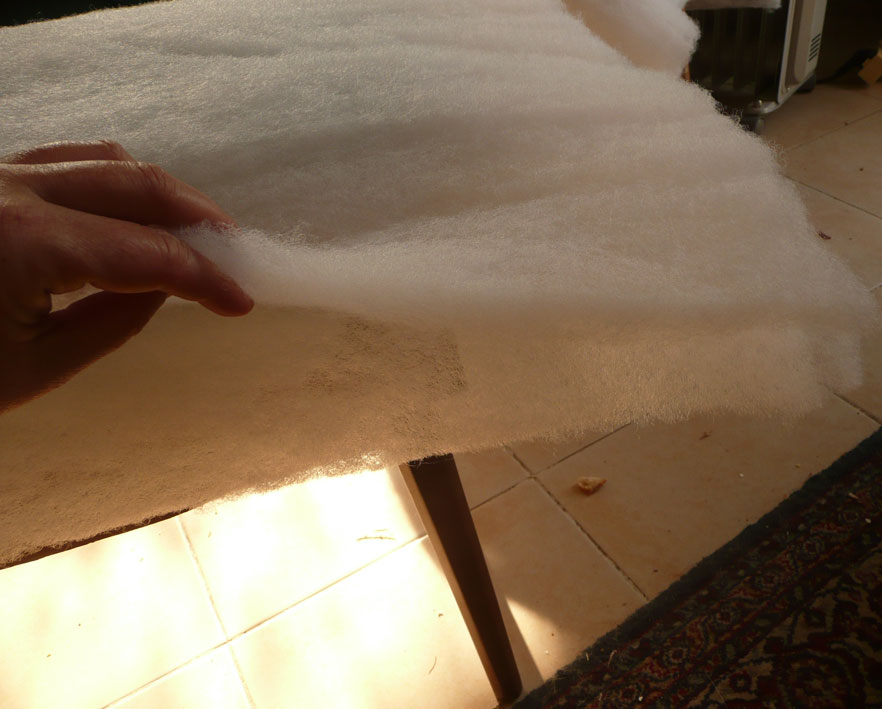
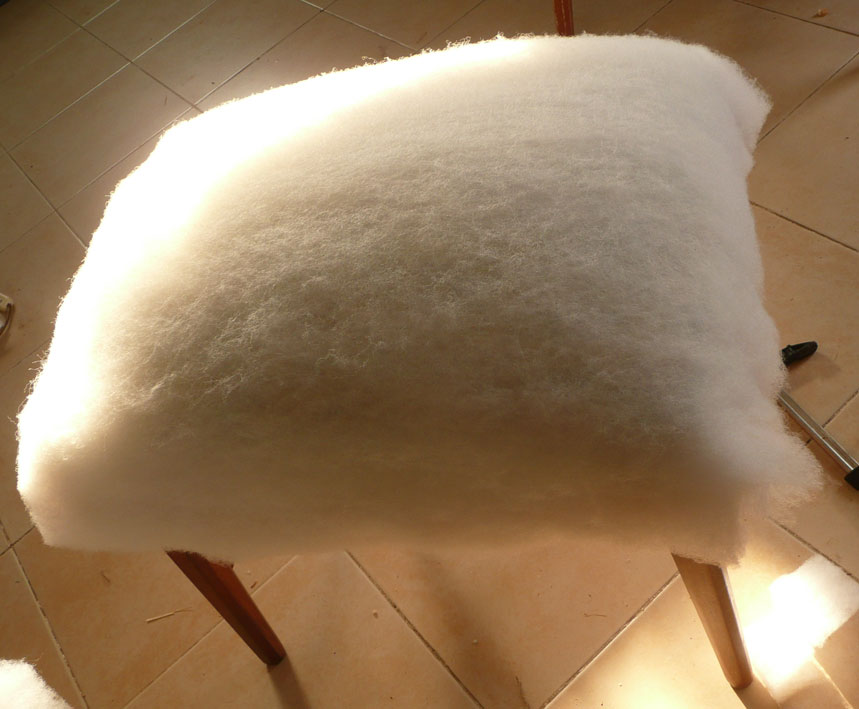
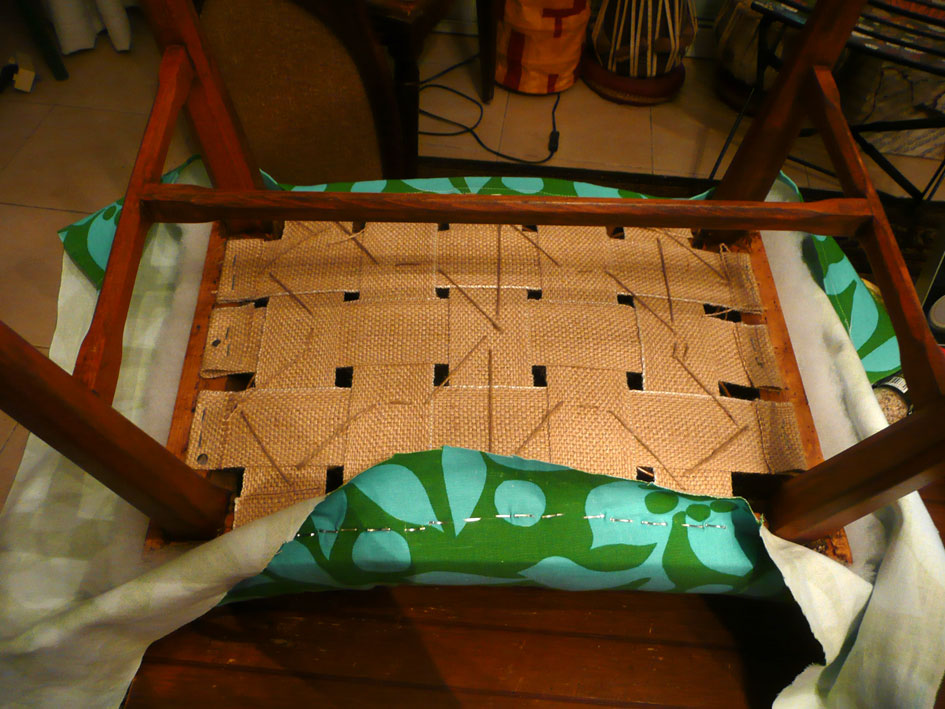
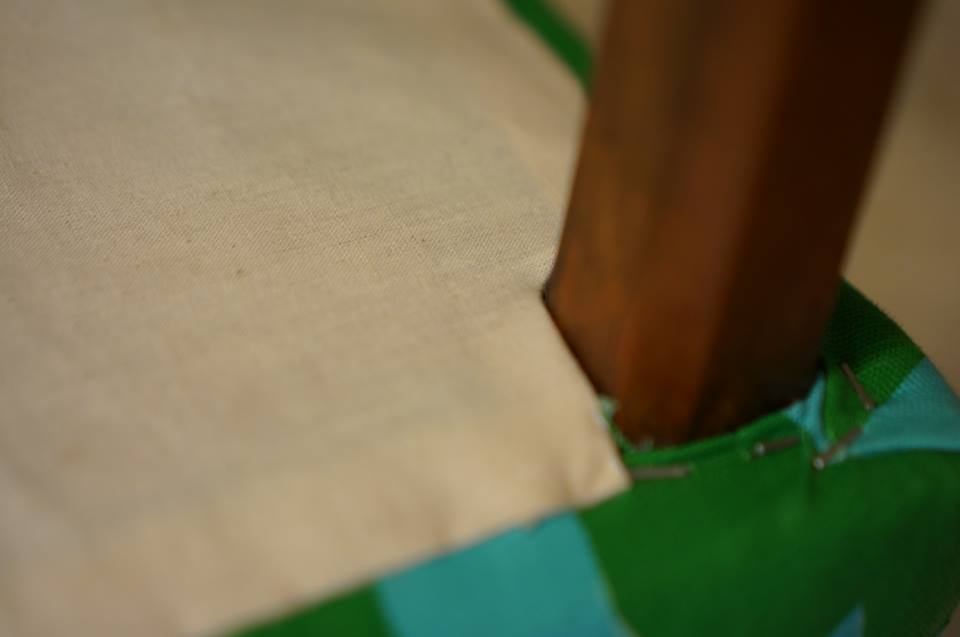
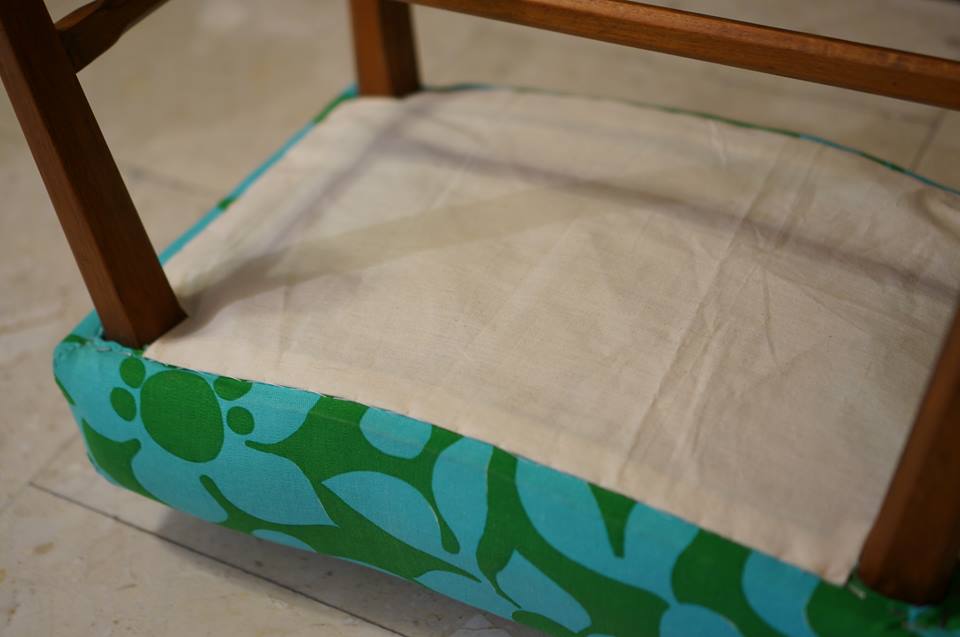
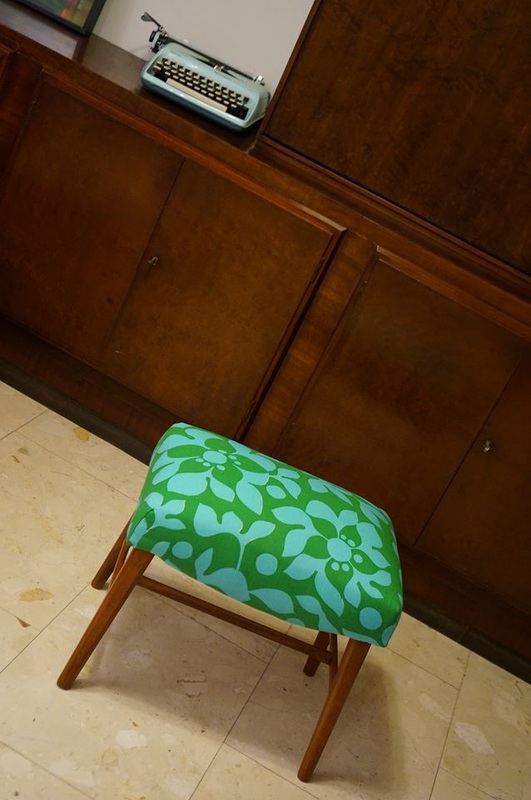
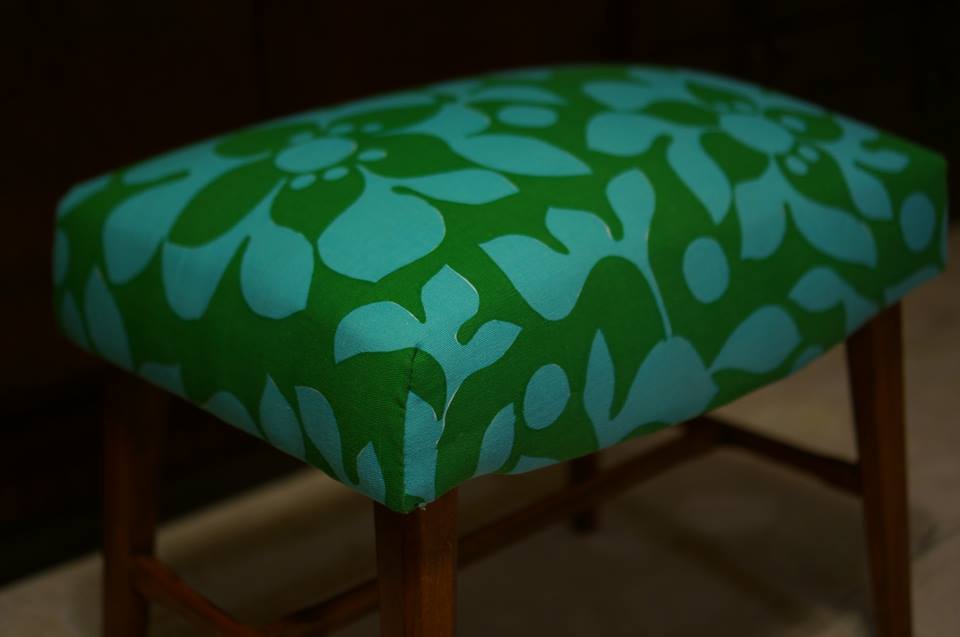
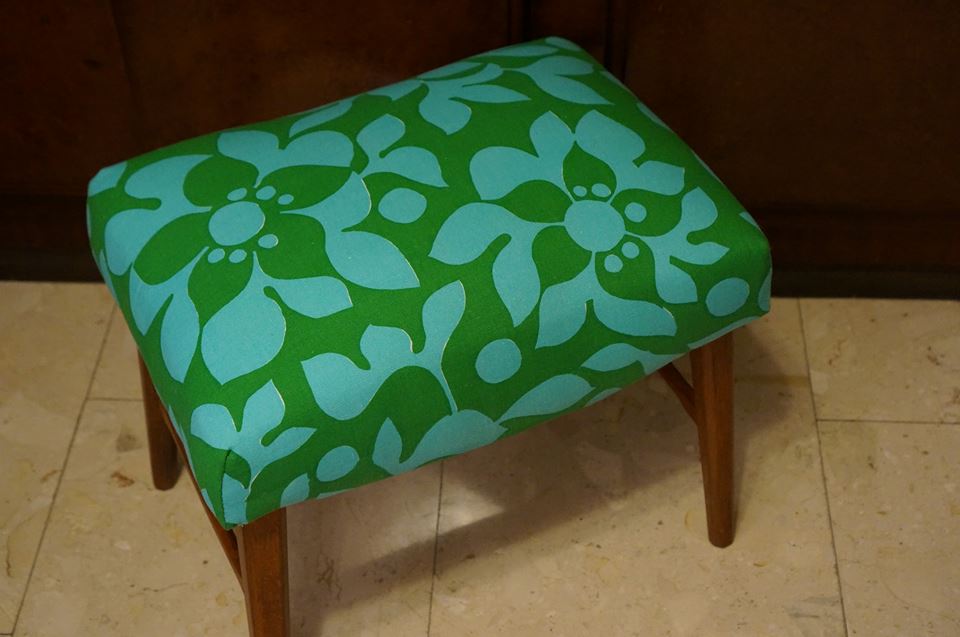
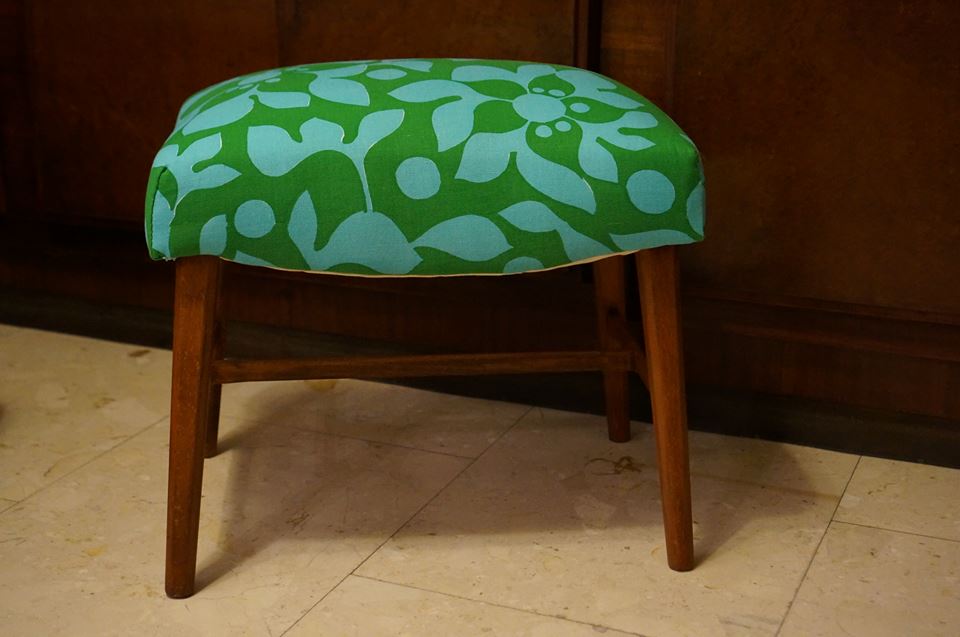
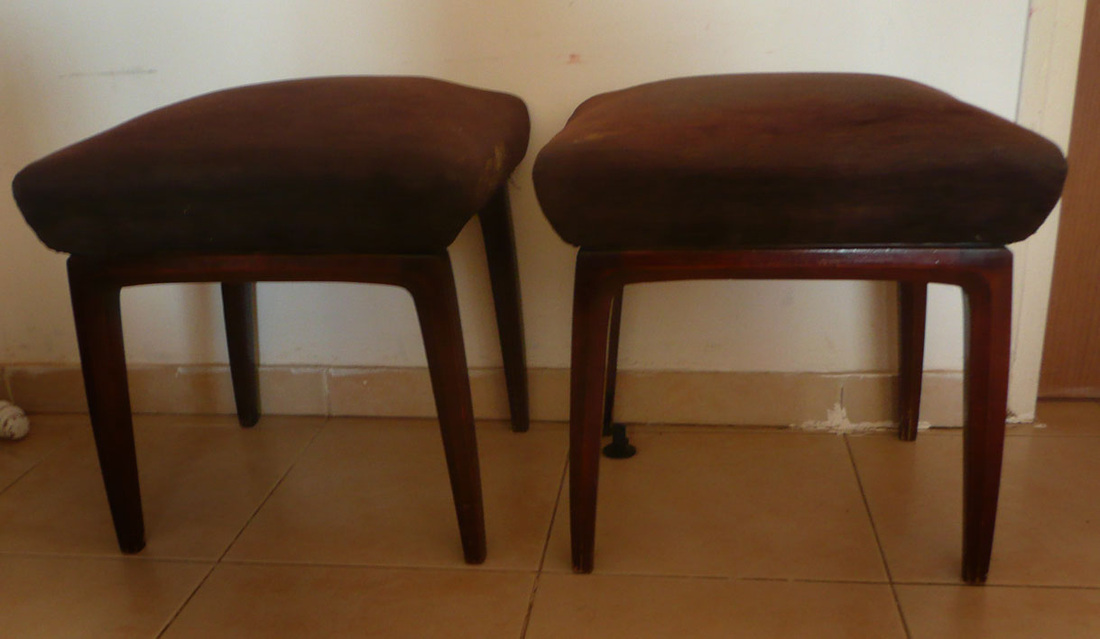
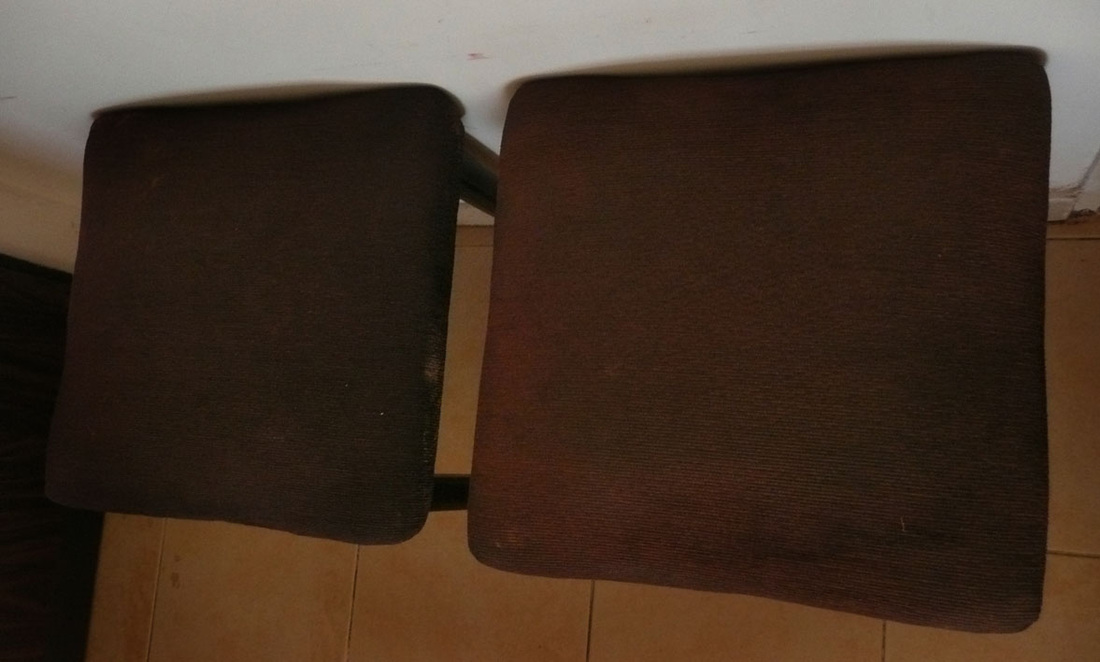
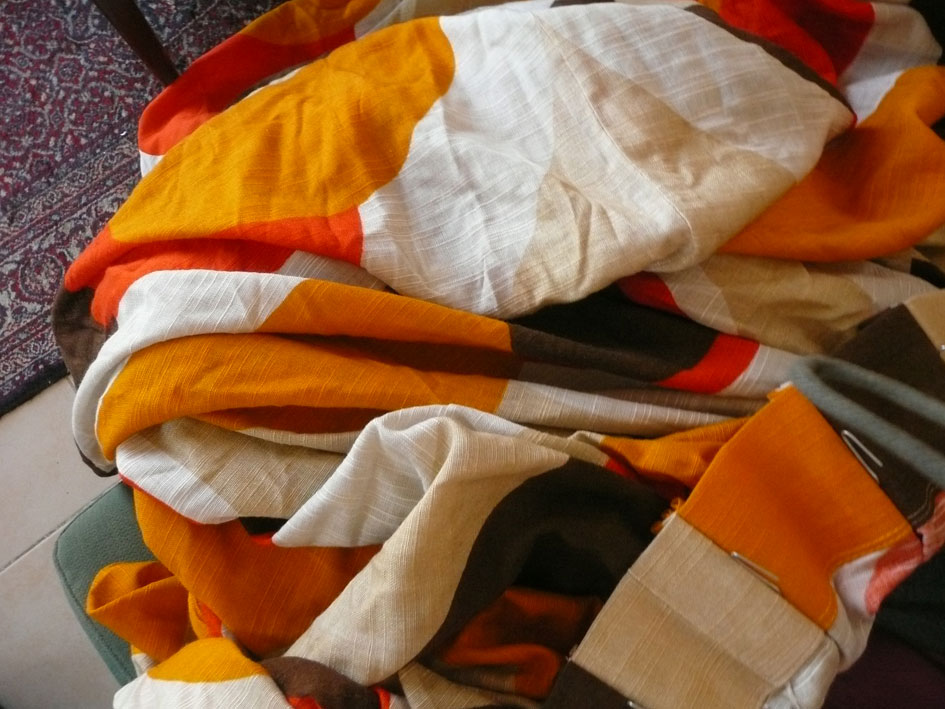
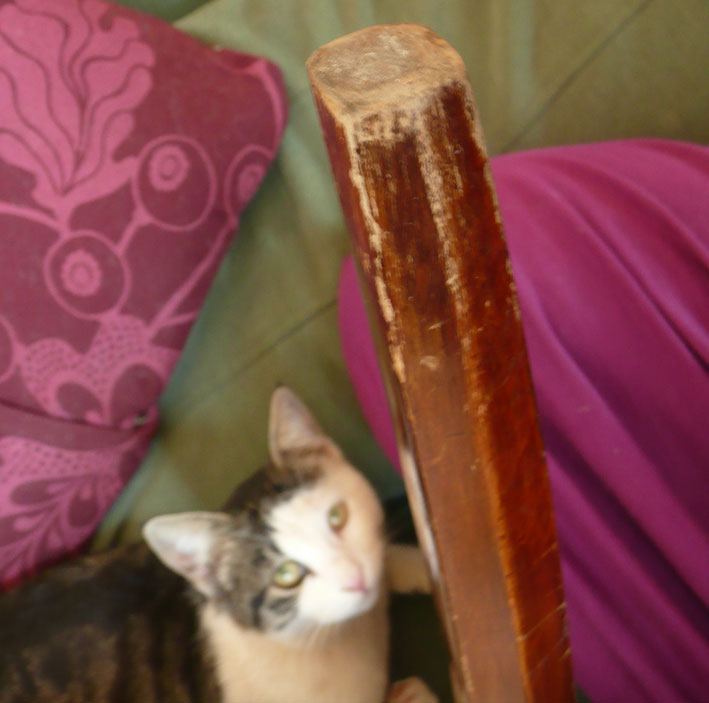
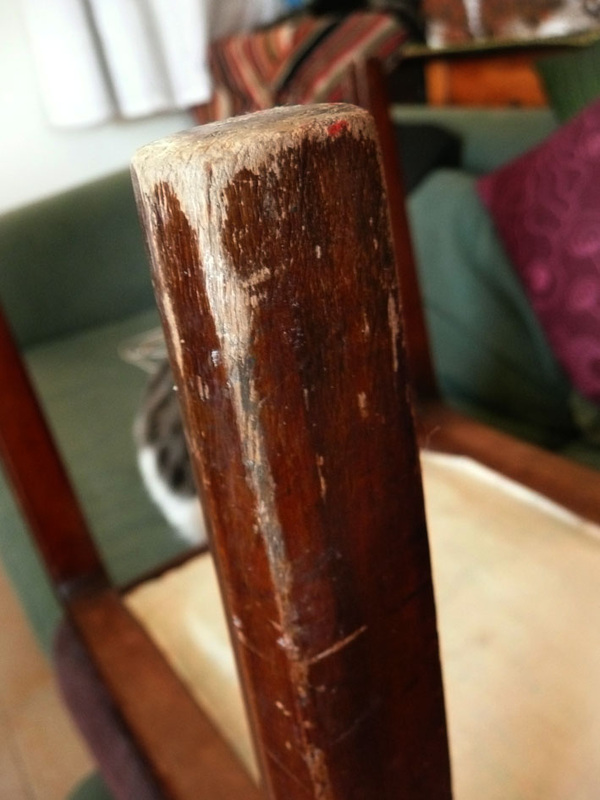
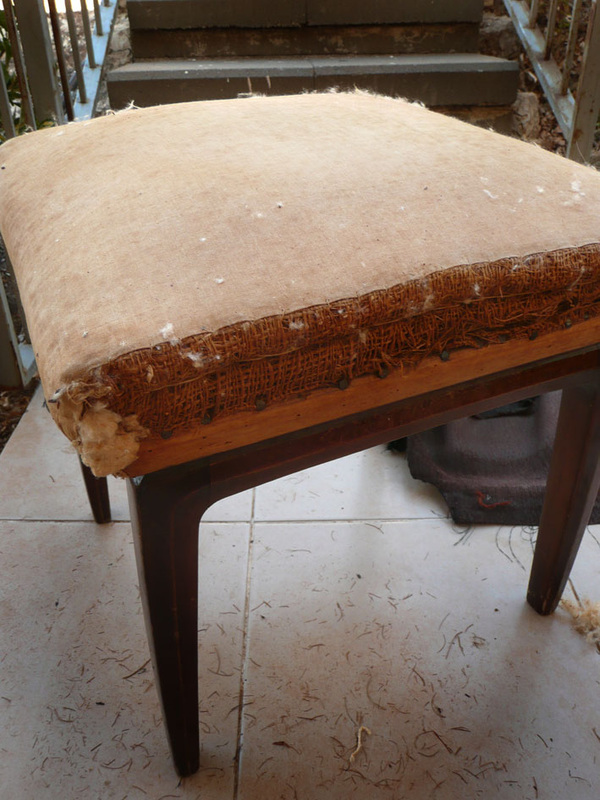
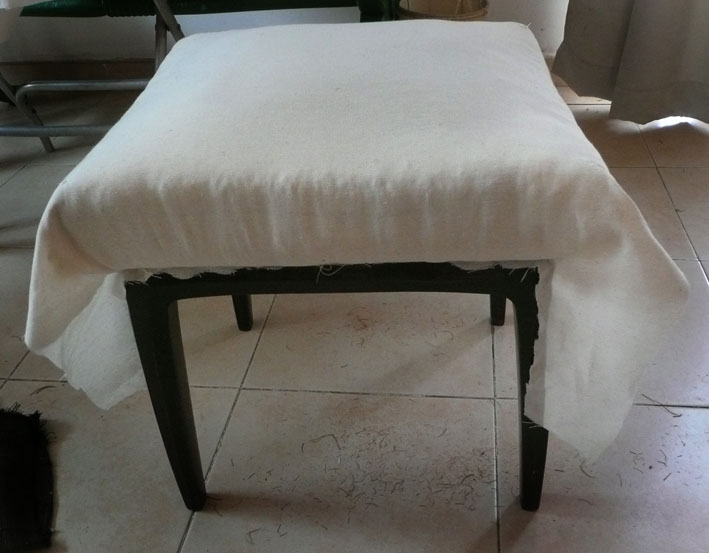
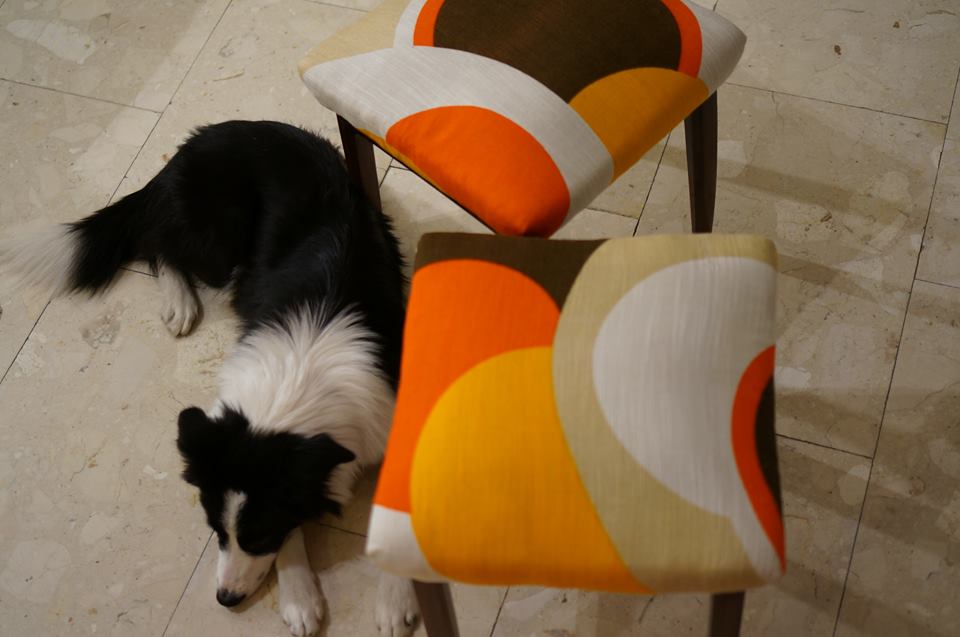
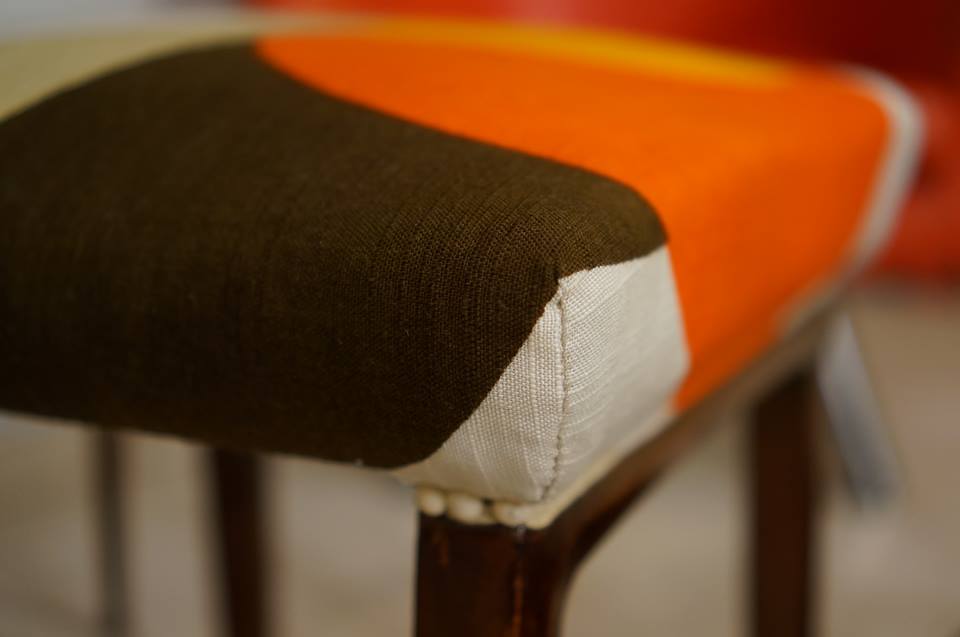
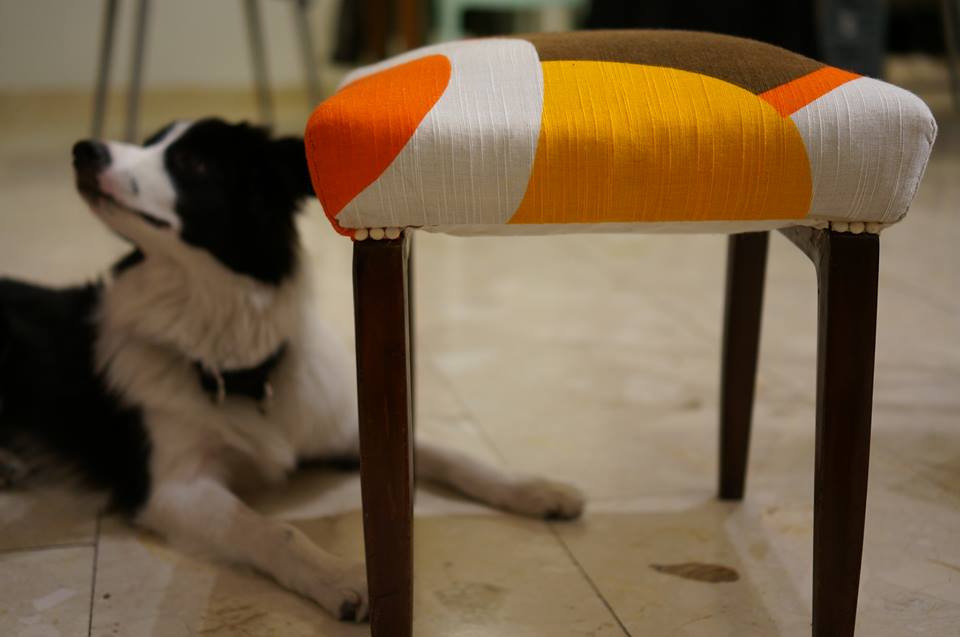
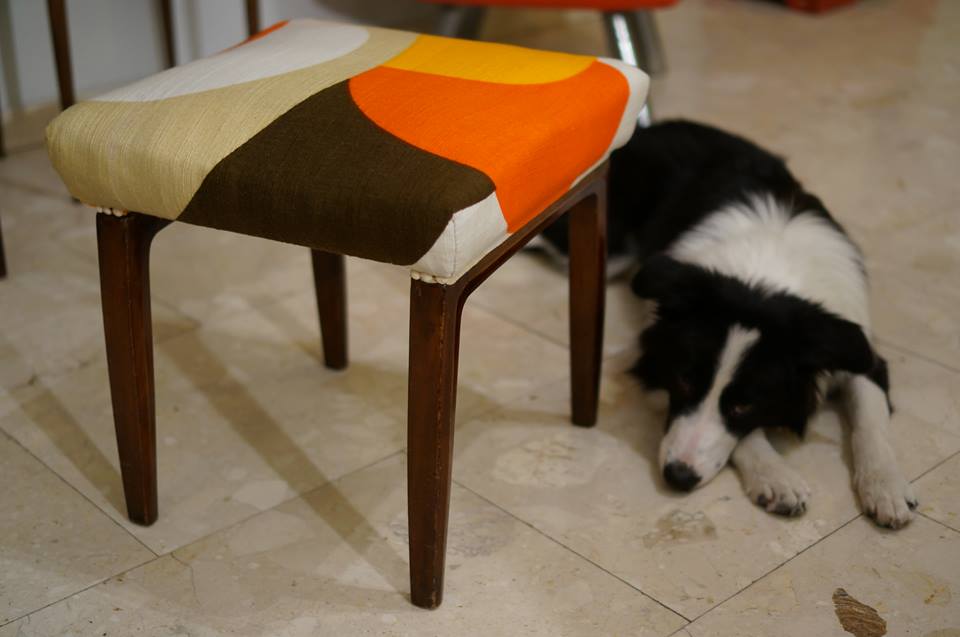
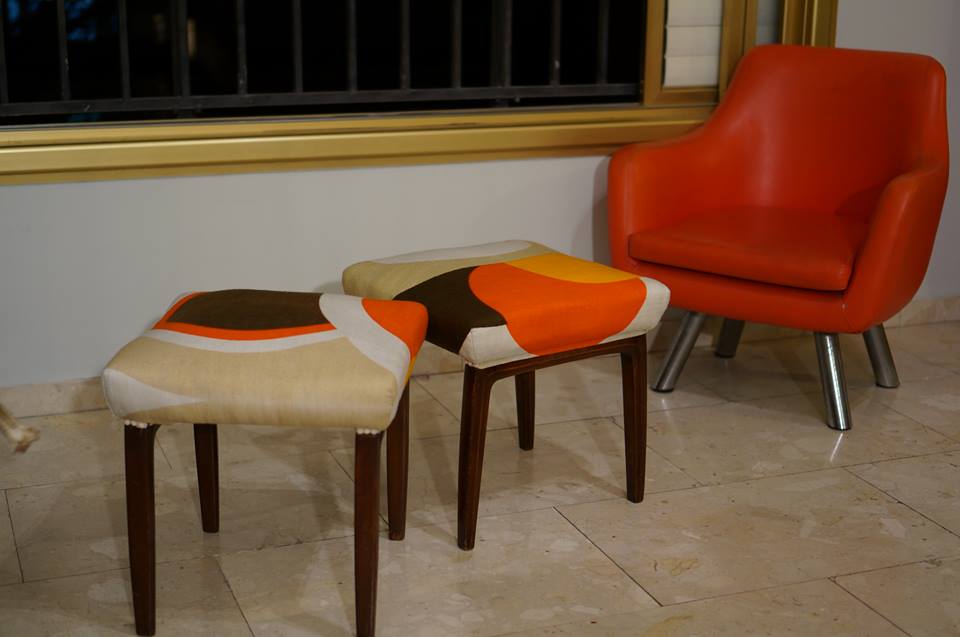
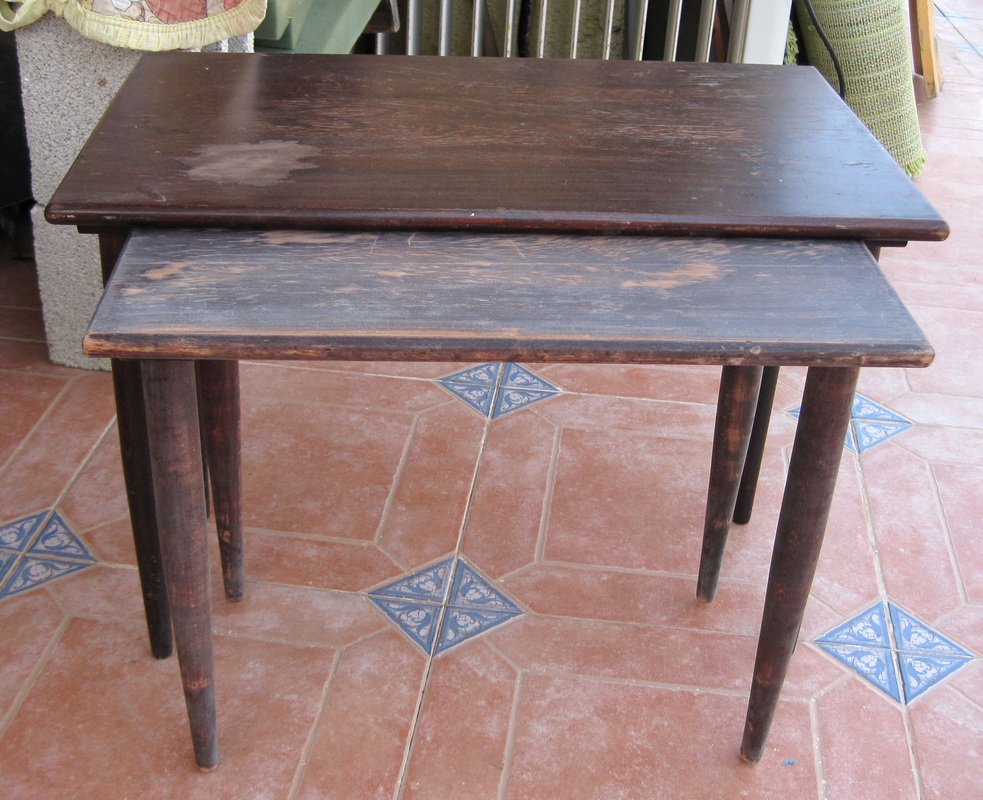
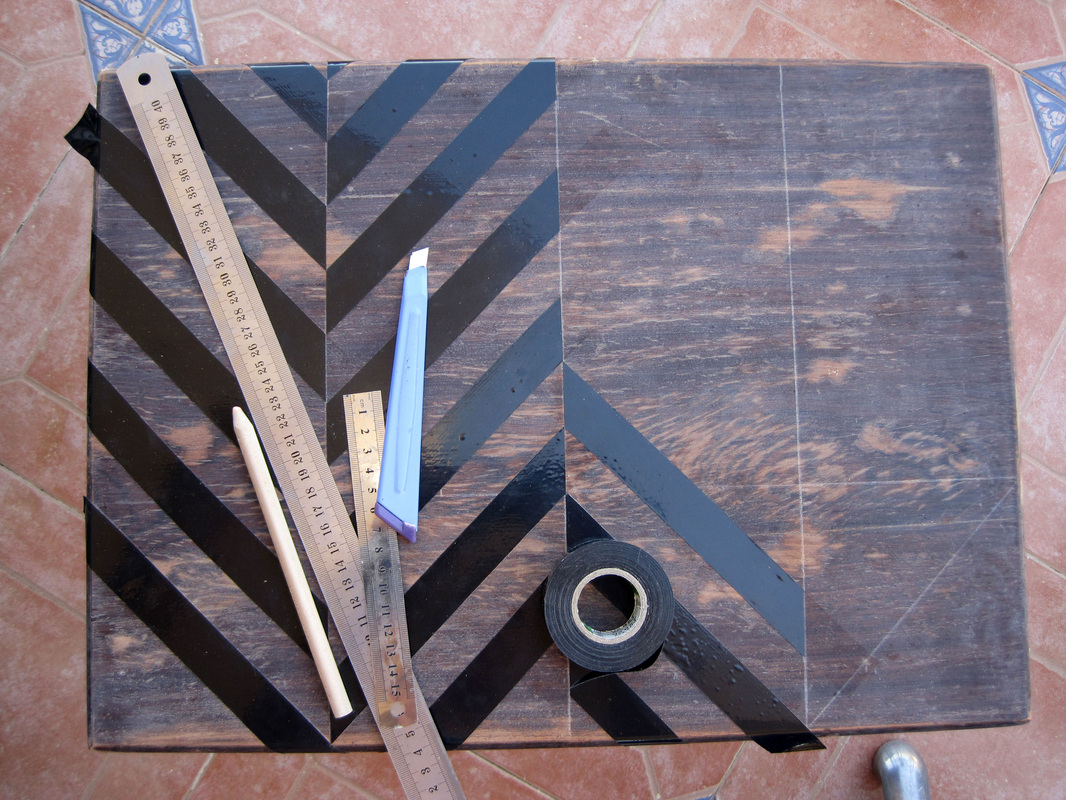
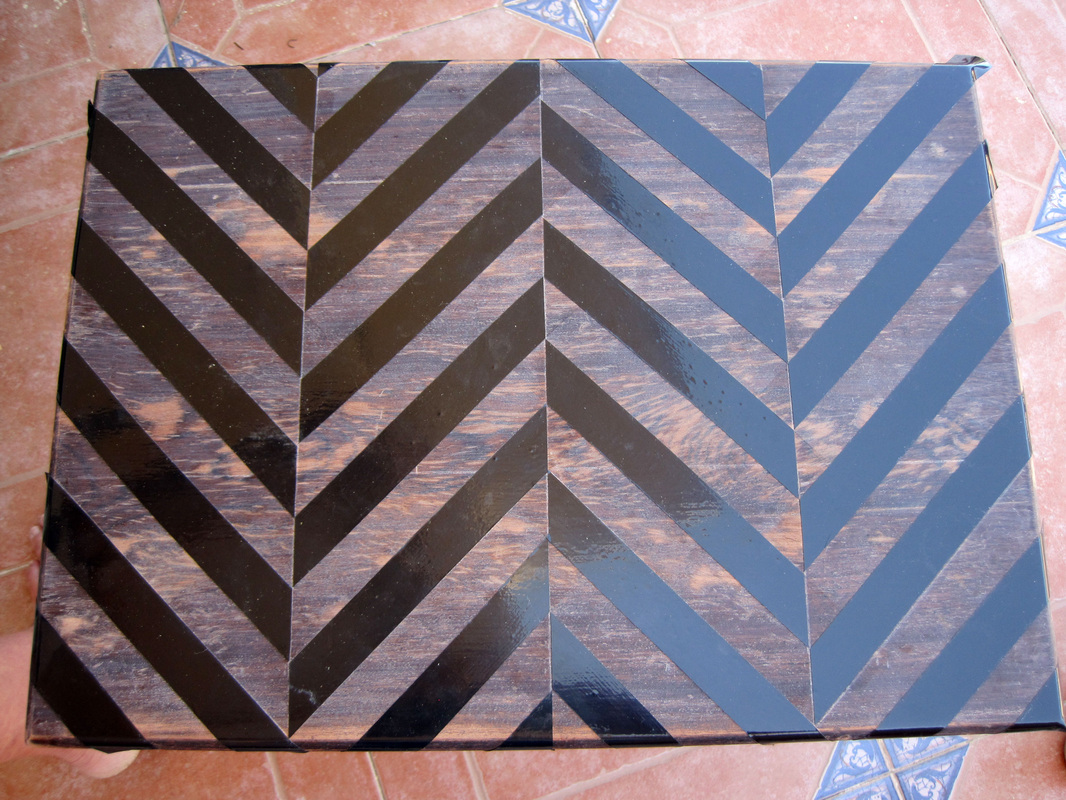
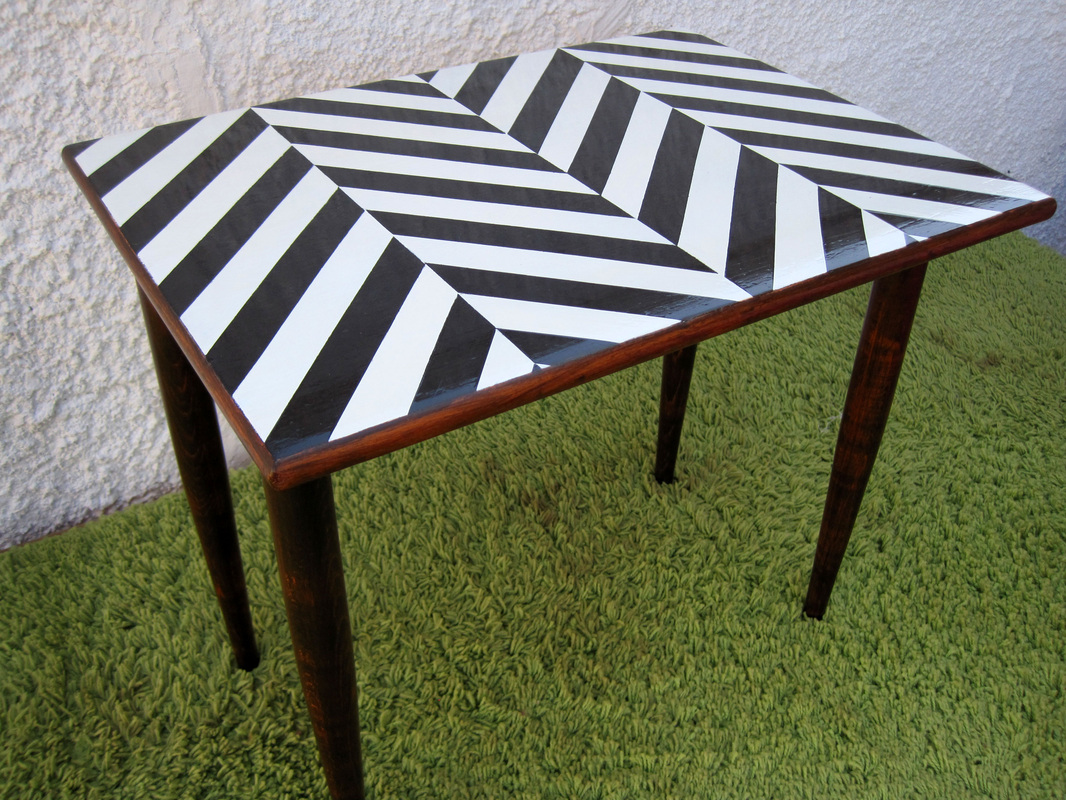
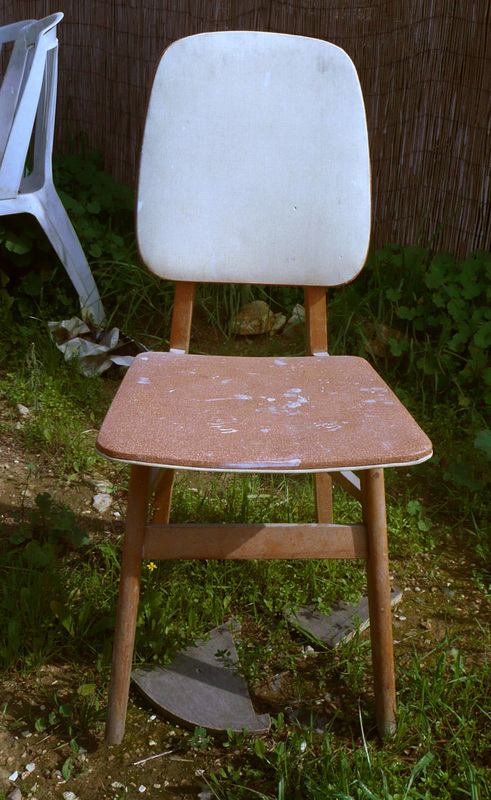
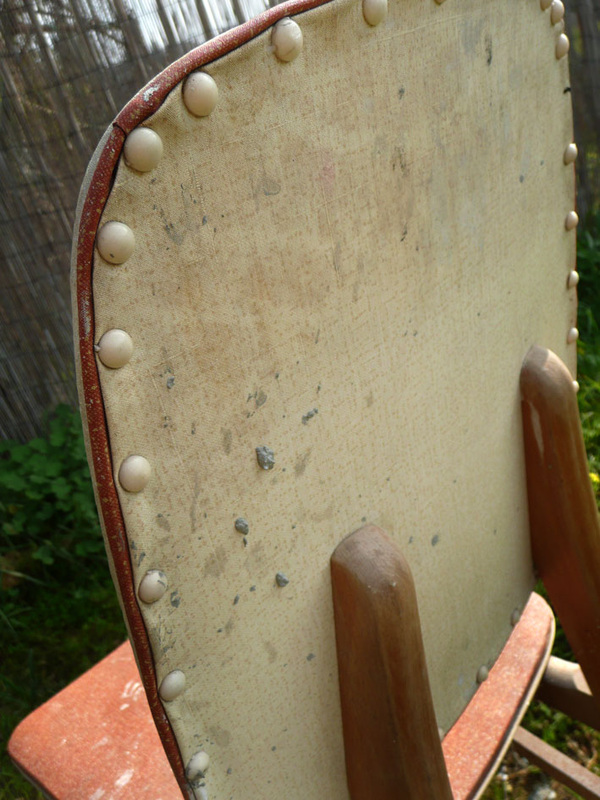
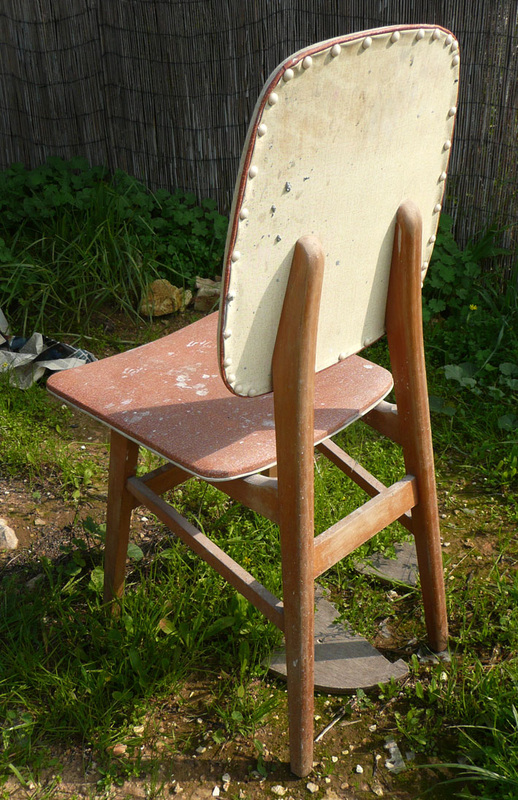
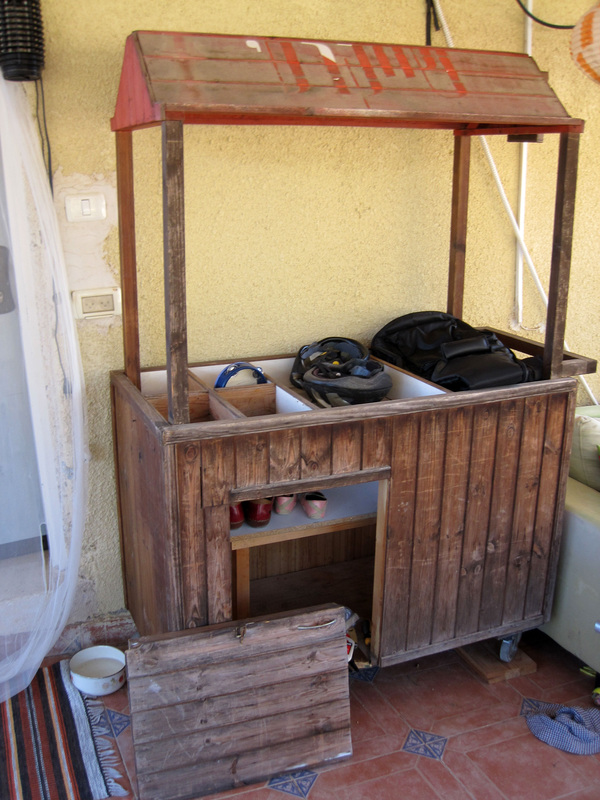
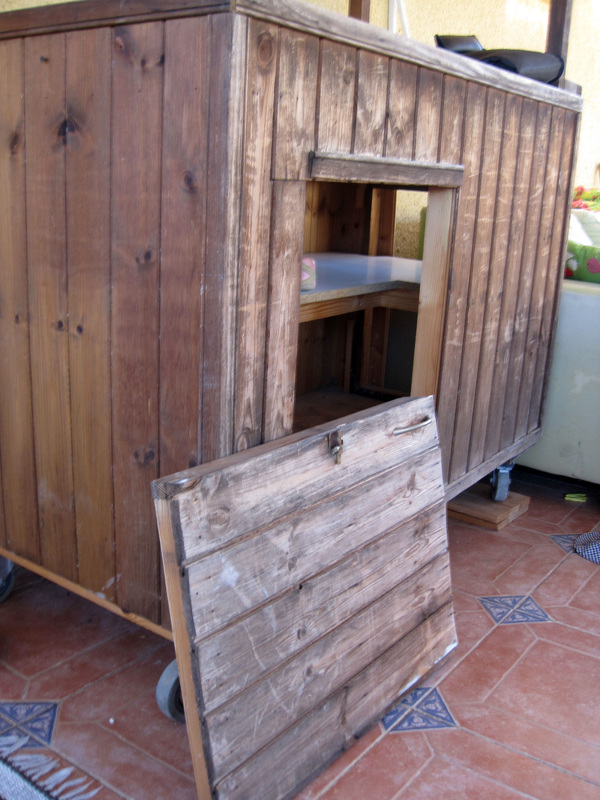
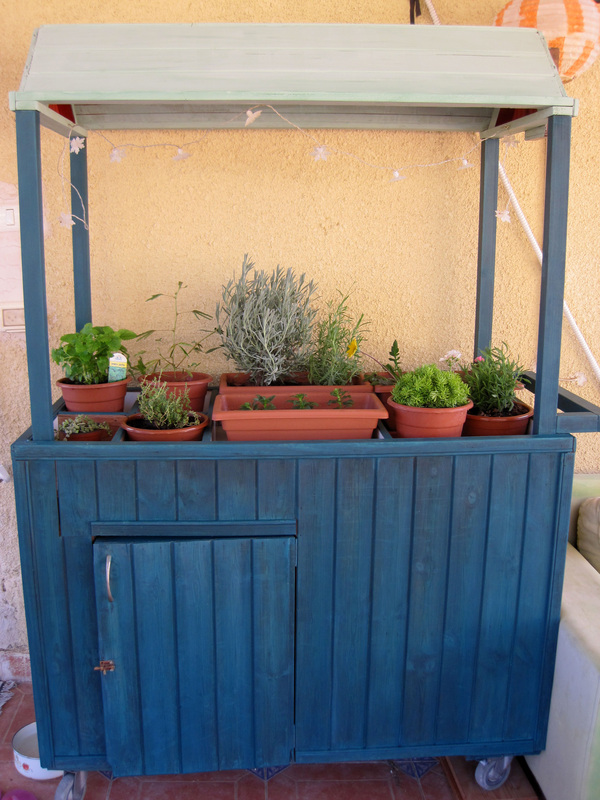
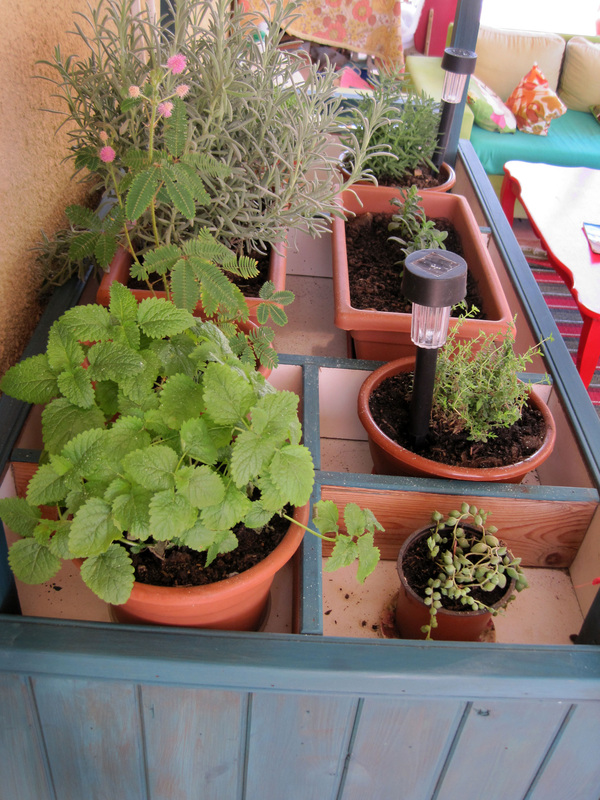
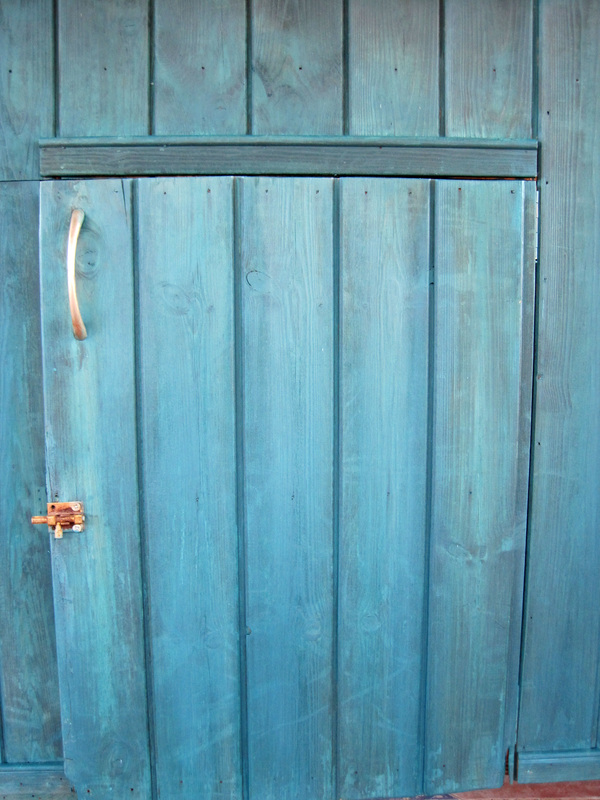
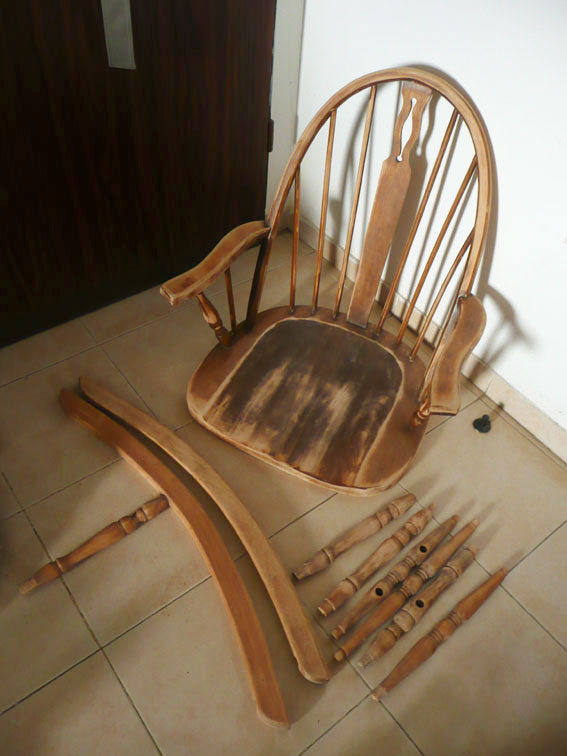
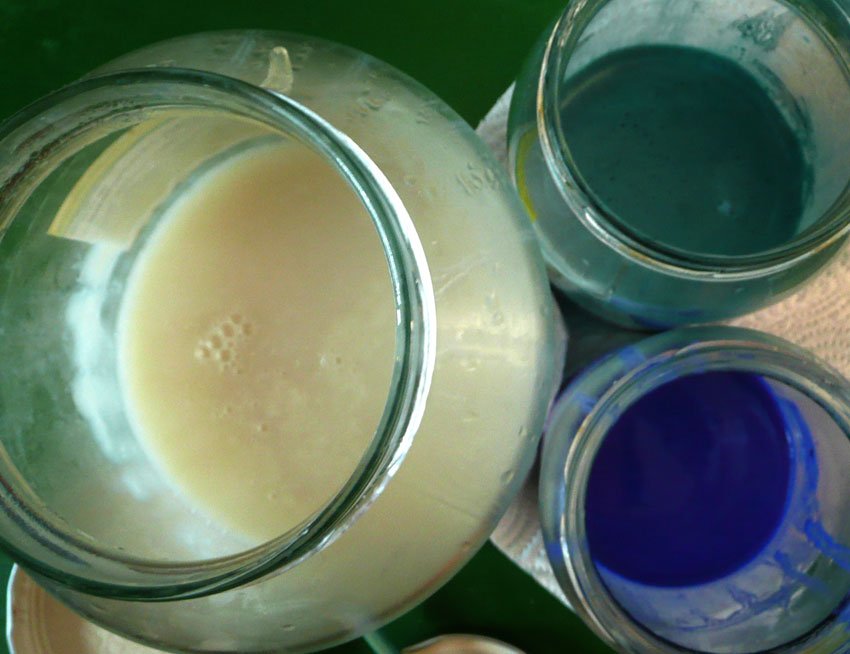
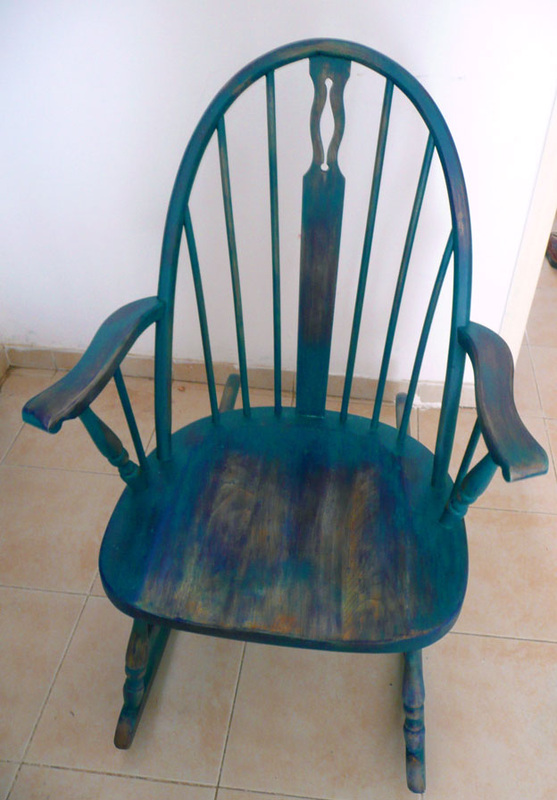
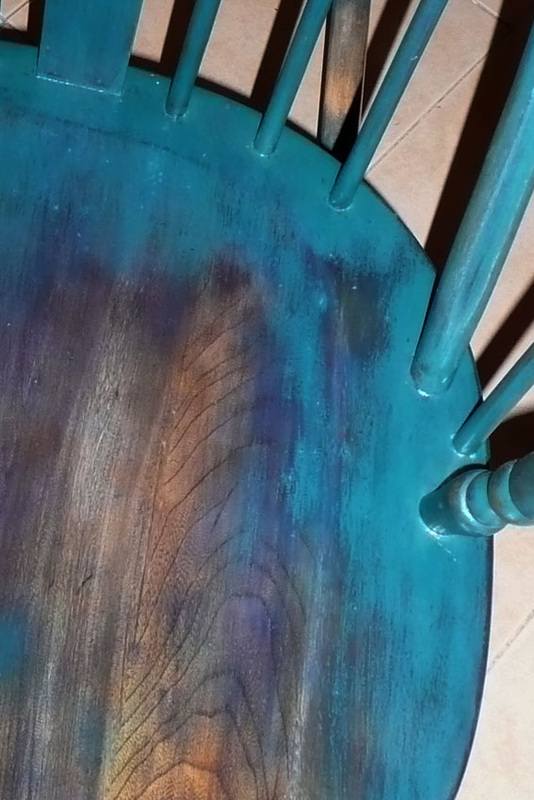
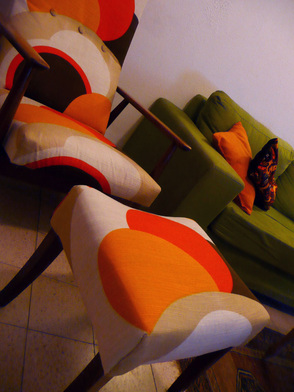 Caroline: This is Yaron's chair which had been covered by a blanket for the past number of years to hide the bland skin coloured fabric of it. After finding a nice colourful curtain from the 70's they asked me if I could reupholster it. Which is ok but just to let everyone know, to use a fabric that is not meant to be used for upholstery of furniture is a little bit tricky. First one must stabilize the fabric by gluing (ironing on) another material called Vlieselin on to the back. This takes along time since the iron has to stand in one spot for at least 30 seconds. So you can imagine the amount of time it takes to do a big piece or curtain with a tiny iron. The second problem is that with the Vlieselin on the back the fabric becomes very rigid, it is not stretchy at all, which makes it very hard to stretch over a chair that is rounded. Therefore one ends up with little creases which are hard to remove. I am hoping that with time that the fabric will shaped itself, but time might just as well make the creases more visible. I will have to wait and see. In the end it turned out quite pretty I think. 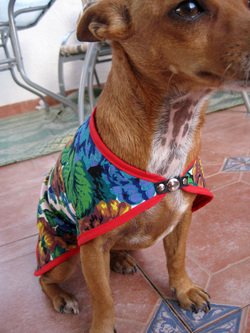 Linnéa : I have a small dog and small dogs get cold in the winter time, even here in Israel. So I made her a beautiful " coat " from old seventhies fabric and of course some more to sell in the store. For the inside, I used a fleece blanket so it would give her warmth! And the most important, she really likes it . 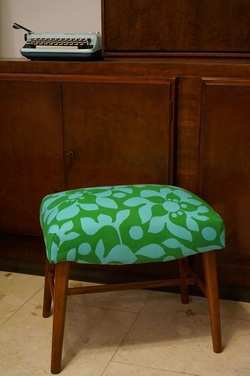 Caroline: As requested here is a step by step guide of the process of redoing a stool. Most of the text you will find under each photograph. I just want to say that I have discovered that the world of upholstery is amazingly stimulating and fun! All the different layers and the seat springs that in this case have been hand made by someone at least 70 years ago are beautiful. Click on one picture to see the gallery and step by step guide: 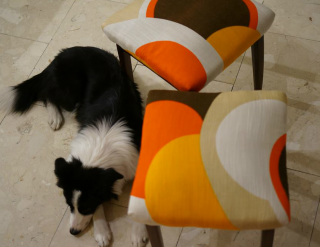 Caroline: This was a commissioned job, to reupholster 2 stools from the beginning of the last century. The clients had an old curtain from the 70's that they wanted me to use and it turned out great. Click on a picture in the gallery below to get details of each step of the transformation from brown, dirty corduroy stools that melted into the background, to happy colourful stools that make a statement. Thank you Yaron for taking the beautiful 'after' pictures and thank you Khaleesi for posing so nicely! 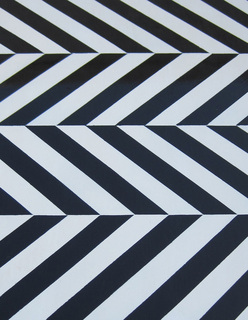 Linnéa : Sometimes you just cannot find the inspiration to get started with a new project. Sometimes you have to wait for it to come. Sometimes you need to look for it in magazines or in the internet. Sometimes you´ll find a new chair on the street and sometimes your very good friend gives you new project! And this is what happened. Caroline came over one day with two old coffee tables as a gift. I guess she felt that I needed something new. From the beginning there were three actually, but one got lost on the way. When I saw them, my inspiration kicked in. I knew that I would do some kind of Art Deco pattern on the top and started to look for it on the internet. Below you can follow the work process step by step! 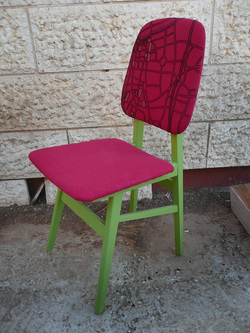 Caroline: This chair was found on the street by my wonderful friend Sarai, she is an author and writes about Israeli life in Tel Aviv and in India. So what better than a chair about Tel Aviv on pink Indian cotton fabric? Since the chair was beyond restoration - it was splattered with paint and dark oil had penetrated the wood - I had to paint it. I chose another extreme colour to match the already screaming pink. Perhaps I was thinking of the strong colours of India or perhaps I just felt more colourful than bland that day. I embroidered the back rest with a map of northern Tel Aviv, the green outlines are buildings - of where Sarai and her lovely husband Roy live and some of our mutual friends. The 2 thicker lines on the right side is the Ayalon motorway and up top you can see the blue outline of the Yarkon river. The large roundabout is Kikar HaMedina (Square of the Nation) and slightly below it to the left is an empty rectangle which is Kikar Rabin (Rabin Square). Click on a picture below to see larger pictures of the chair before and after.  Linnéa: My husband had a very nice surprise for me when I came back from Sweden: an old, broken bar on wheels!! He really knows what´s gets me going;-) I started by fixing the wheels and stabilizing the roof and the posts that are holding it. Reattached the door and put some extra nails here and there. I really wanted to try to make my own milk paint after seeing how good it came out for Caroline in her last rocking chair project. I think I mixed 3 different recipes and came up with one that fits the ingredients that I had at home! And after the first brushstrokes I felt so satisfied, it came out so beautiful!! For the roof, I used a white chalk paint with some ounces of green pigment powder. Then we went to buy some good smelling herbs and flowers to put inside the boxes and I hung a light strand in the ceiling for the nights. 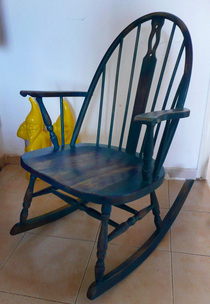 Caroline: A friend found this rocking chair in pieces in a dumpster and told me "Do what ever you want" so of course I wanted to try something different. On many blogs and pages from the US about up-cycling furniture they write about milk paint. Milk paint is probably the oldest painting technique in the world. It has been used in cave paintings and apparently the ancient Egyptians used it in their tombs. Now it is used mostly on furniture to create an antique look or as some call it - "shabby chic". Now I do not really like "shabby chic" painting, I mean I do like an old piece of furniture with old paint peeling off it, but I want it real, a real old piece of furniture with a story and five layers of paint that have been put on by different owners over the years. The stuff one can buy today, that has been painted and then sand papered to look old, does not feel real to me. But that is just me, I know a lot of people love the style - or else you wouldn't be able to buy it in any furniture store. Besides, I am still experimenting with different techniques and styles and I want to learn more about all kinds of paints so this rocking chair became my "shabby chic" victim. Milk paint is a very very cool paint. I like that it is nearly completely environmental friendly (depending on what pigment you use) and that one can make unusual effects with it like spidery cracks and flaky paint. My problem was that one cannot buy ready mixed milk paint powder in this country, of course. So I would have to make it from scratch. It is the protein in milk, casein, which binds pigments to wood and creates the texture of paint and to get casein from milk one can curdle it by using lemon or vinegar which will concentrate the protein. However I was lucky enough to find casein in powdered form in my favorite paint store (www.pigmentim.co.il) so I avoided one messy step. I mixed the casein powder with water, borax and pigments in a 2 day process that I won't describe here. Then I painted two layers of different blues and "erased" paint in certain areas with a damp cloth to create a weathered worn-out look. I wasn't very scientific about it so the end result is perhaps not so "real" - just a nice rocking chair with fake old fading paint. Whilst painting the chair I found a very faded stamp underneath, I traced it onto paper and looked up the word "Malinche, Monterrey" on the wonderful all knowing internet. I found that the chair was from one of the pioneering furniture manufacturers in Mexico which specialized in rocking chairs and chairs of all kinds of woods (pine, mahogany, elm, ceder and beech). They closed down in the early 1970’s but the furniture is still very popular among collectors. After that I found the same rocking chair on a Mexican auction site price: $2,500. Hmm... I had already painted the chair by then and probably lowered the value by doing so, but if the new owner wants, I can restore it back to its former brown glory another day. Click on one picture to make it larger and see the before and after pictures. |
Linnea & Caroline2 foreigners in Israel trying to find their space. Up-cycling furniture and clothes for a better environment and future. Check us out on Instagram:
|


 RSS Feed
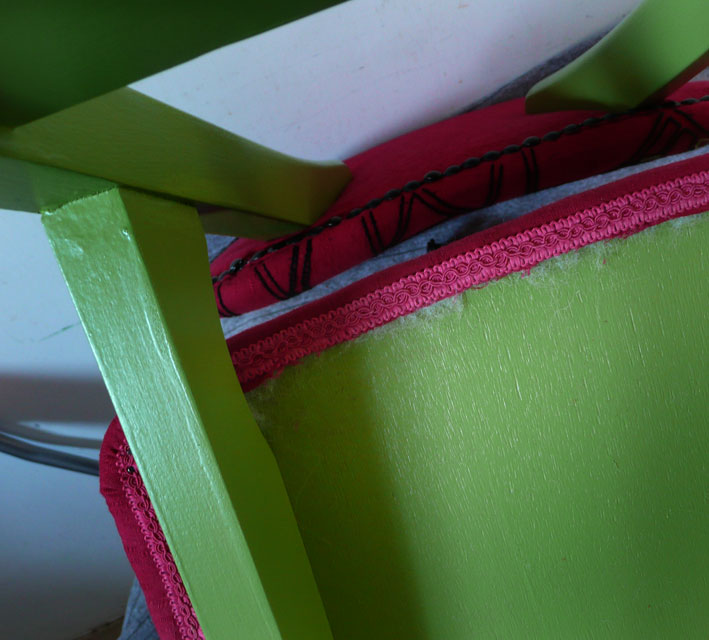
